
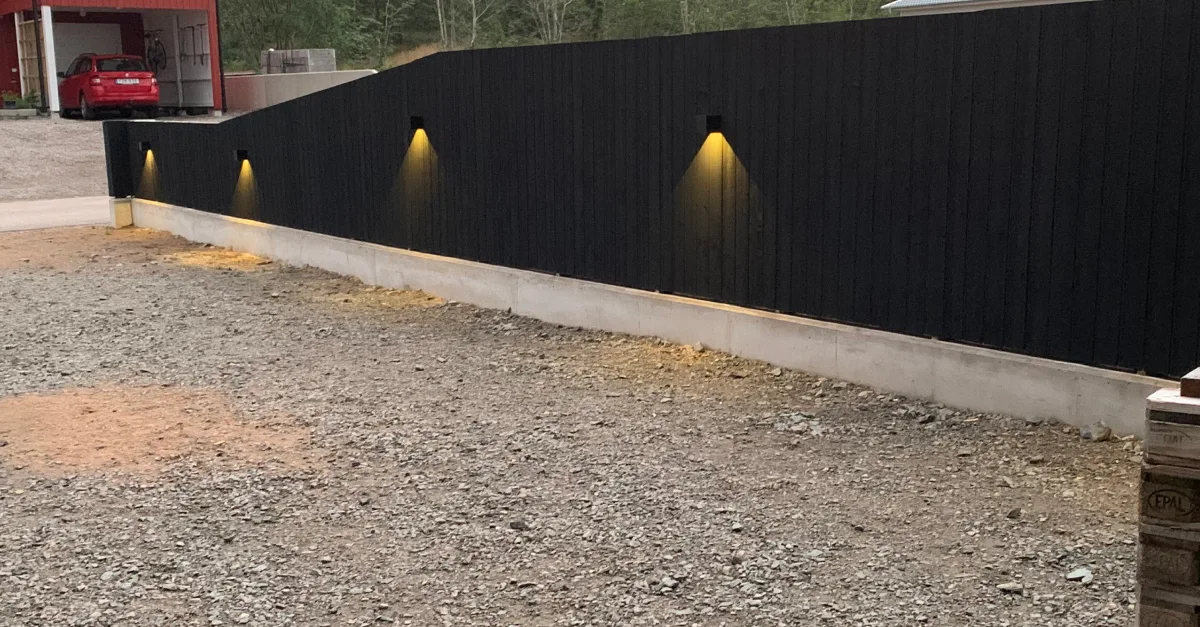
Black Wooden Plank
We have a shared driveway with the neighbor, and our front doors face each other. To gain some privacy, we are building a fence along the property boundary. We are constructing it together with the neighbor.
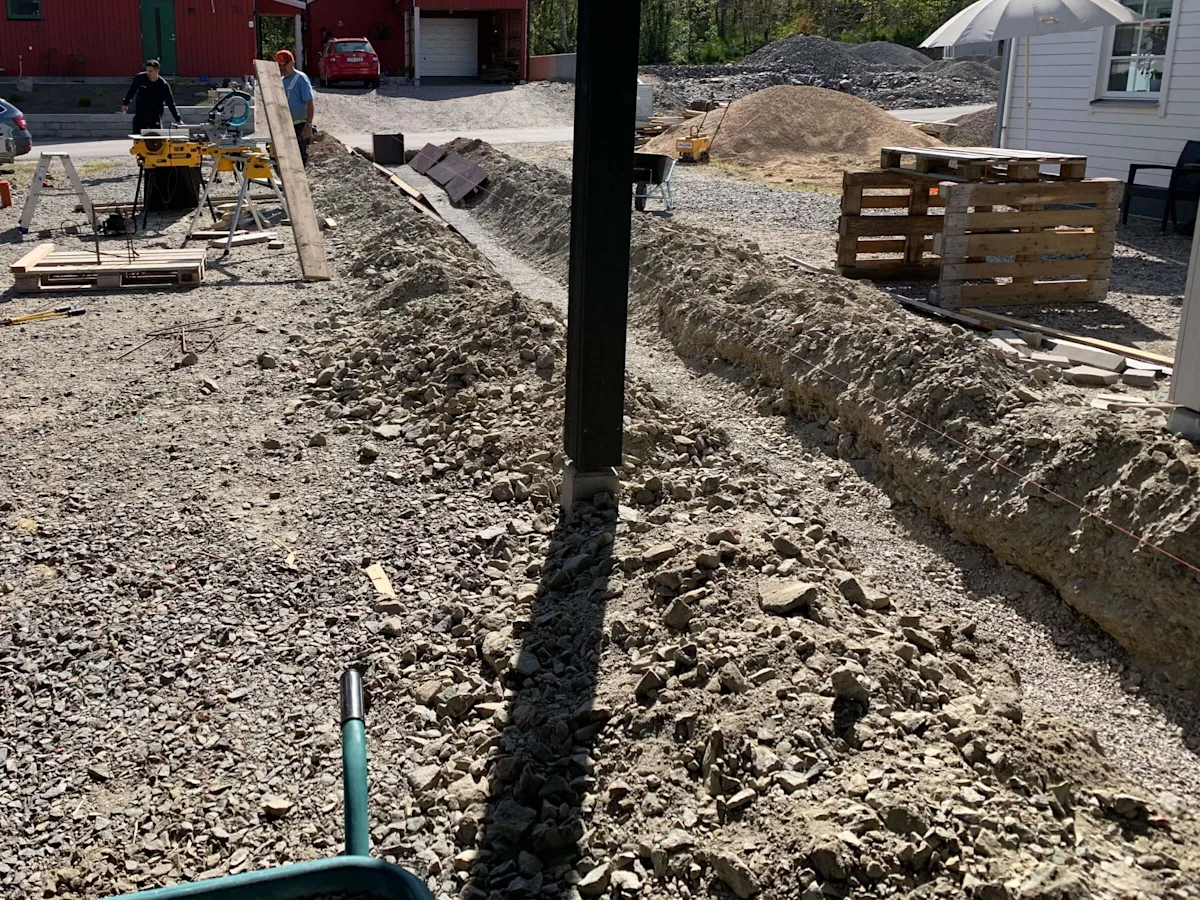
The trench has been dug. However, the machine operator dug a bit too shallow, so we had to spend a few hours using picks and shovels to get it to the right depth. The substrate is almost impossible to dig by hand. The foundation will be 28 meters long, 20 centimeters wide, and 60 centimeters deep.
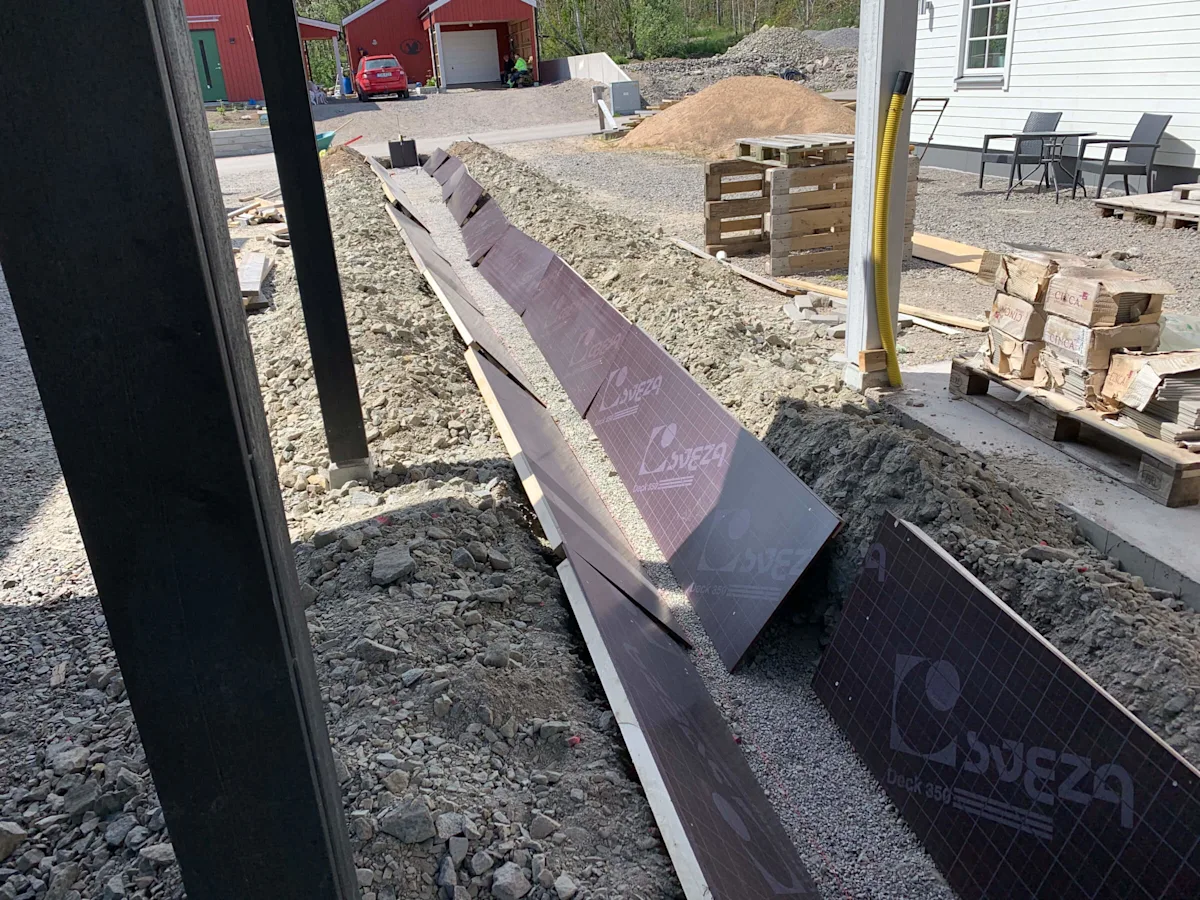
We had never built a casting mold before, so we thought this was a convenient way to start...
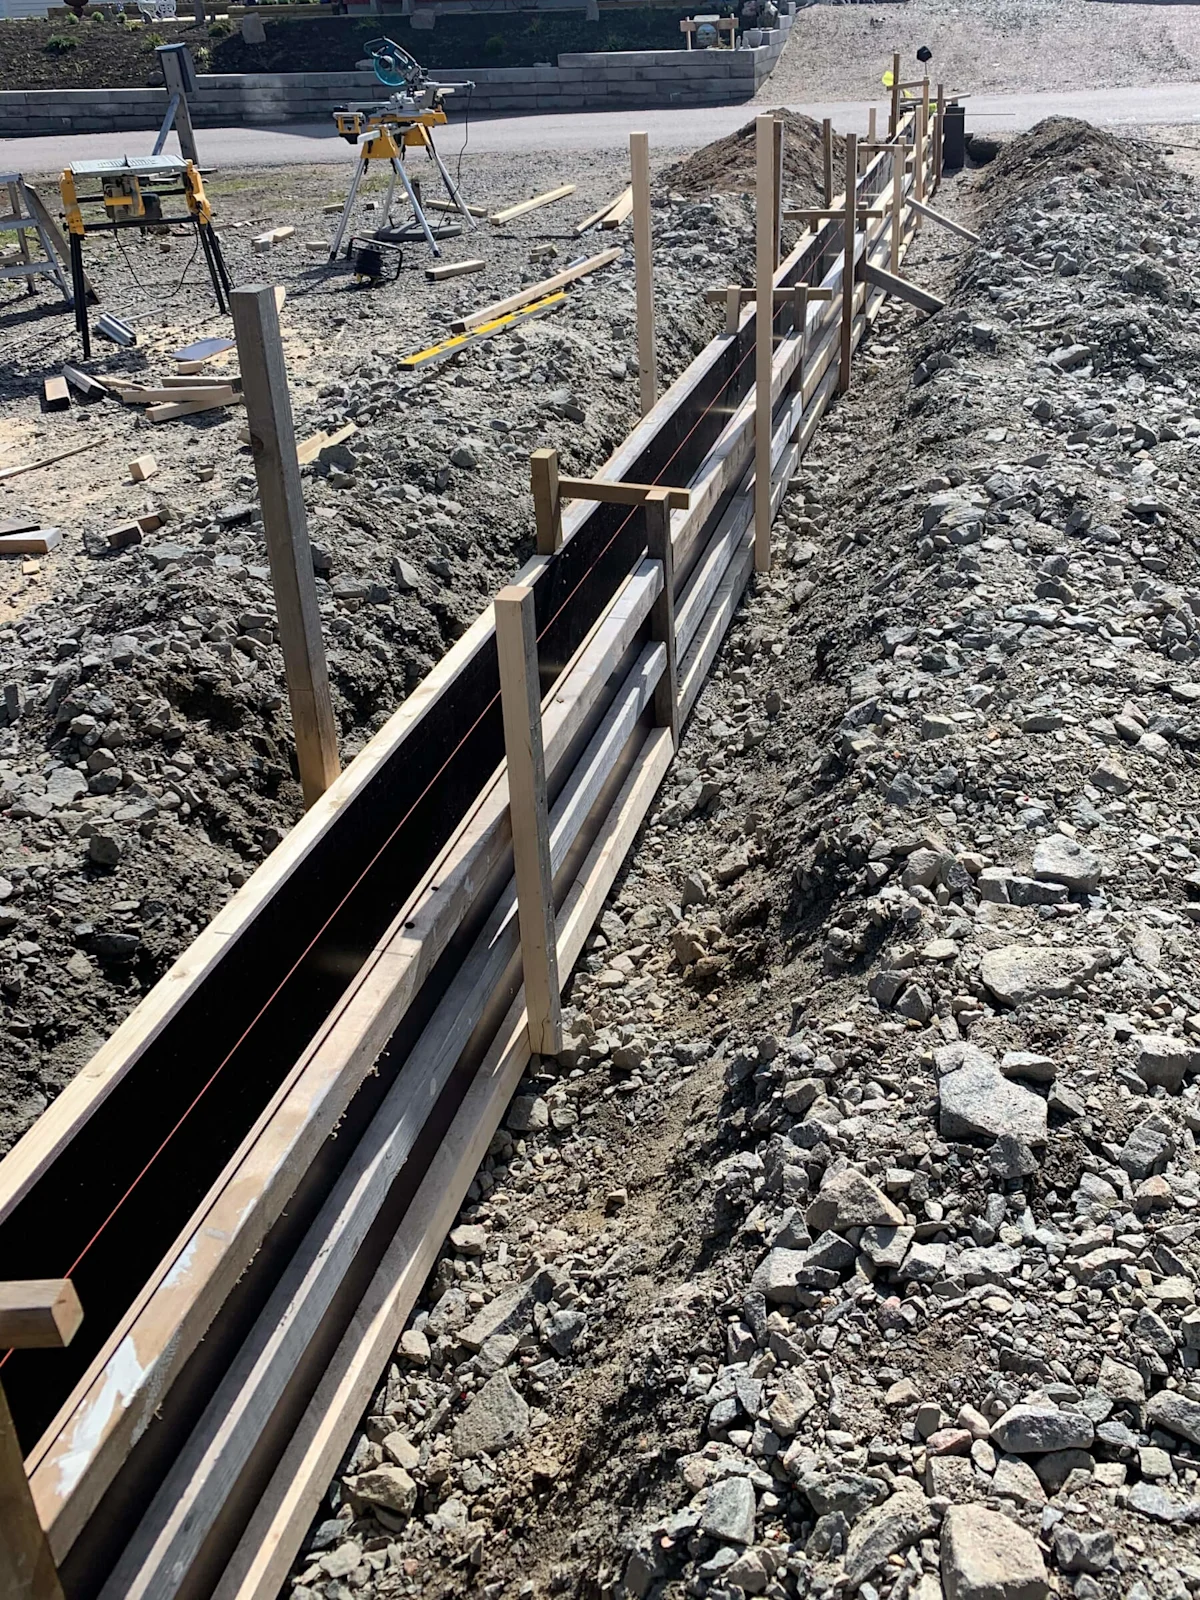
The work is progressing, more braces and supports will be added later...
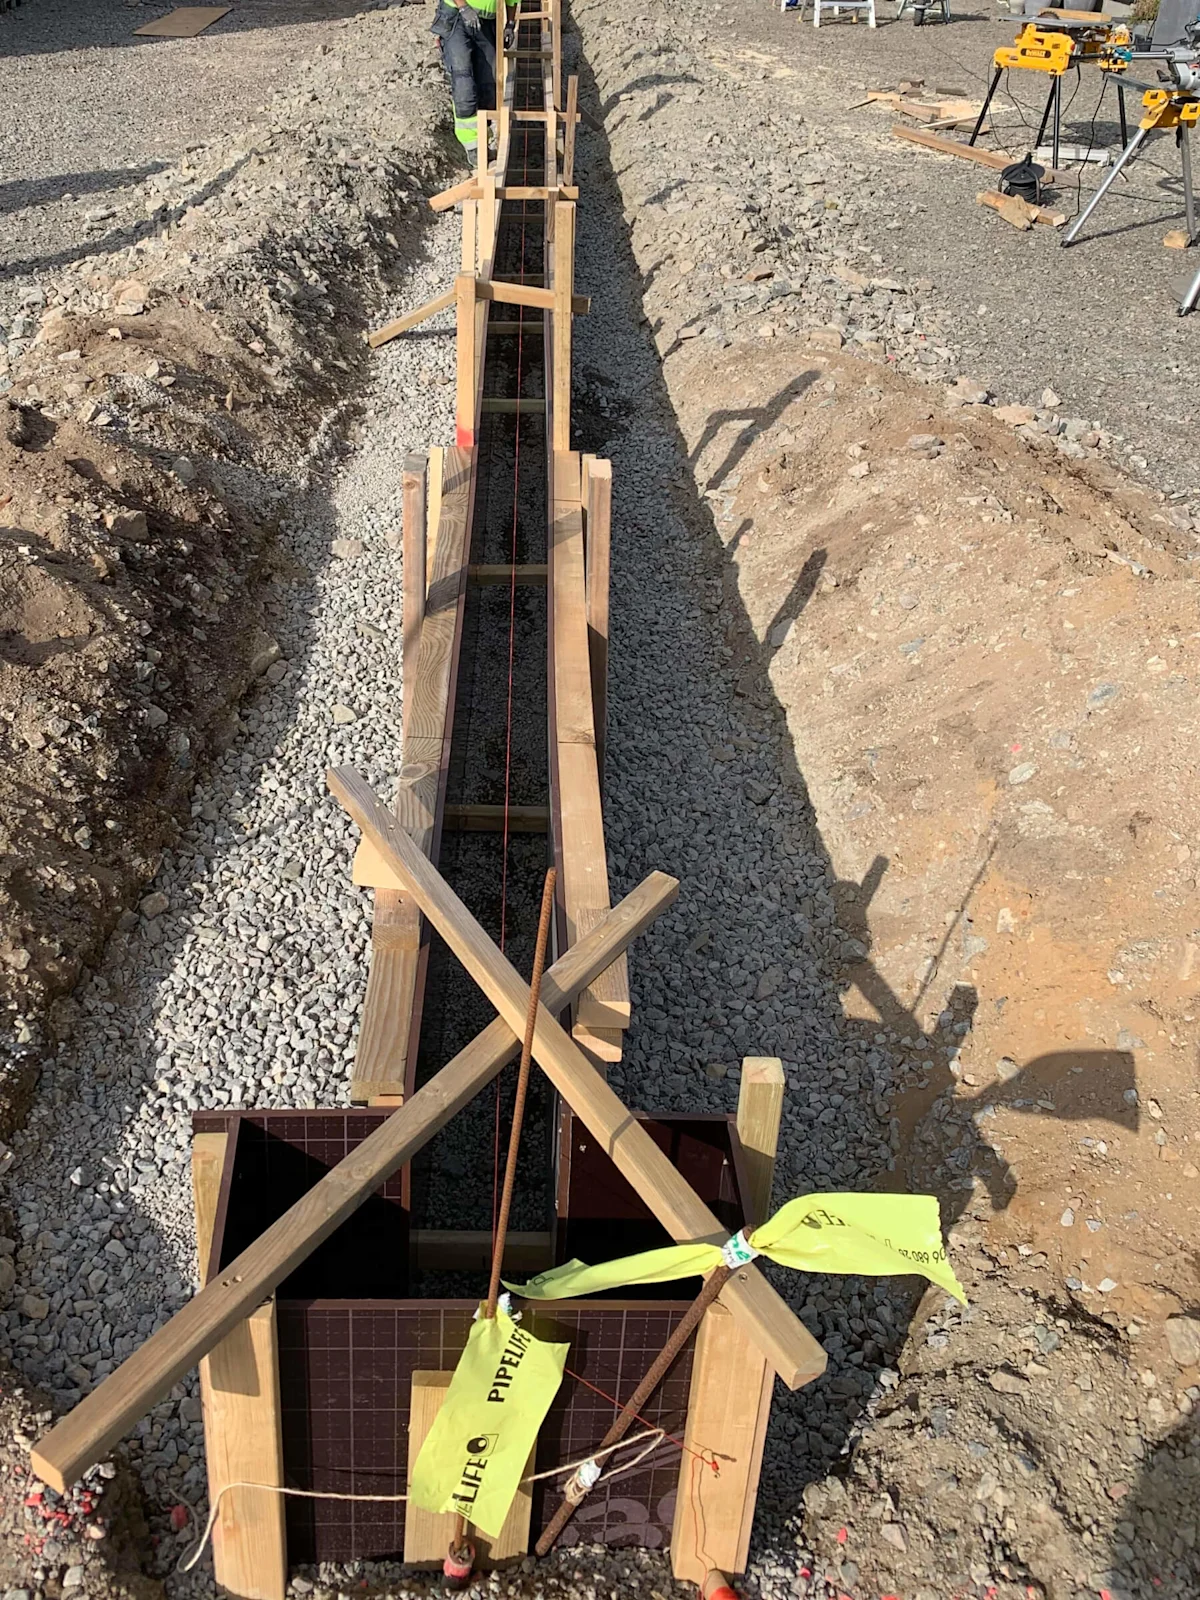
We made a "T" as the finish for the fence... In retrospect, one could wonder if it actually turned out well...
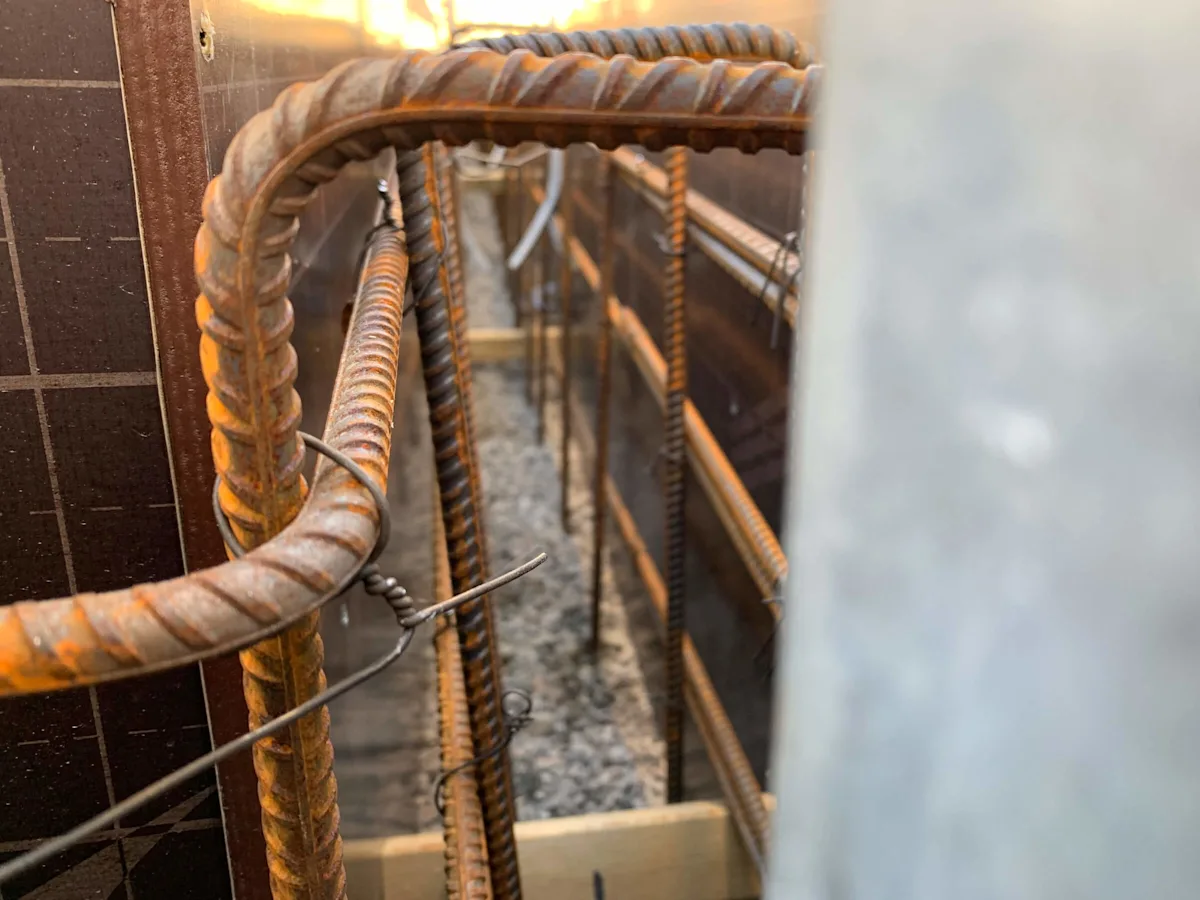
I'm personally quite satisfied with the rebar work, although I may not lash like a pro. Most of the lashing was done with one of those manual lash tools.
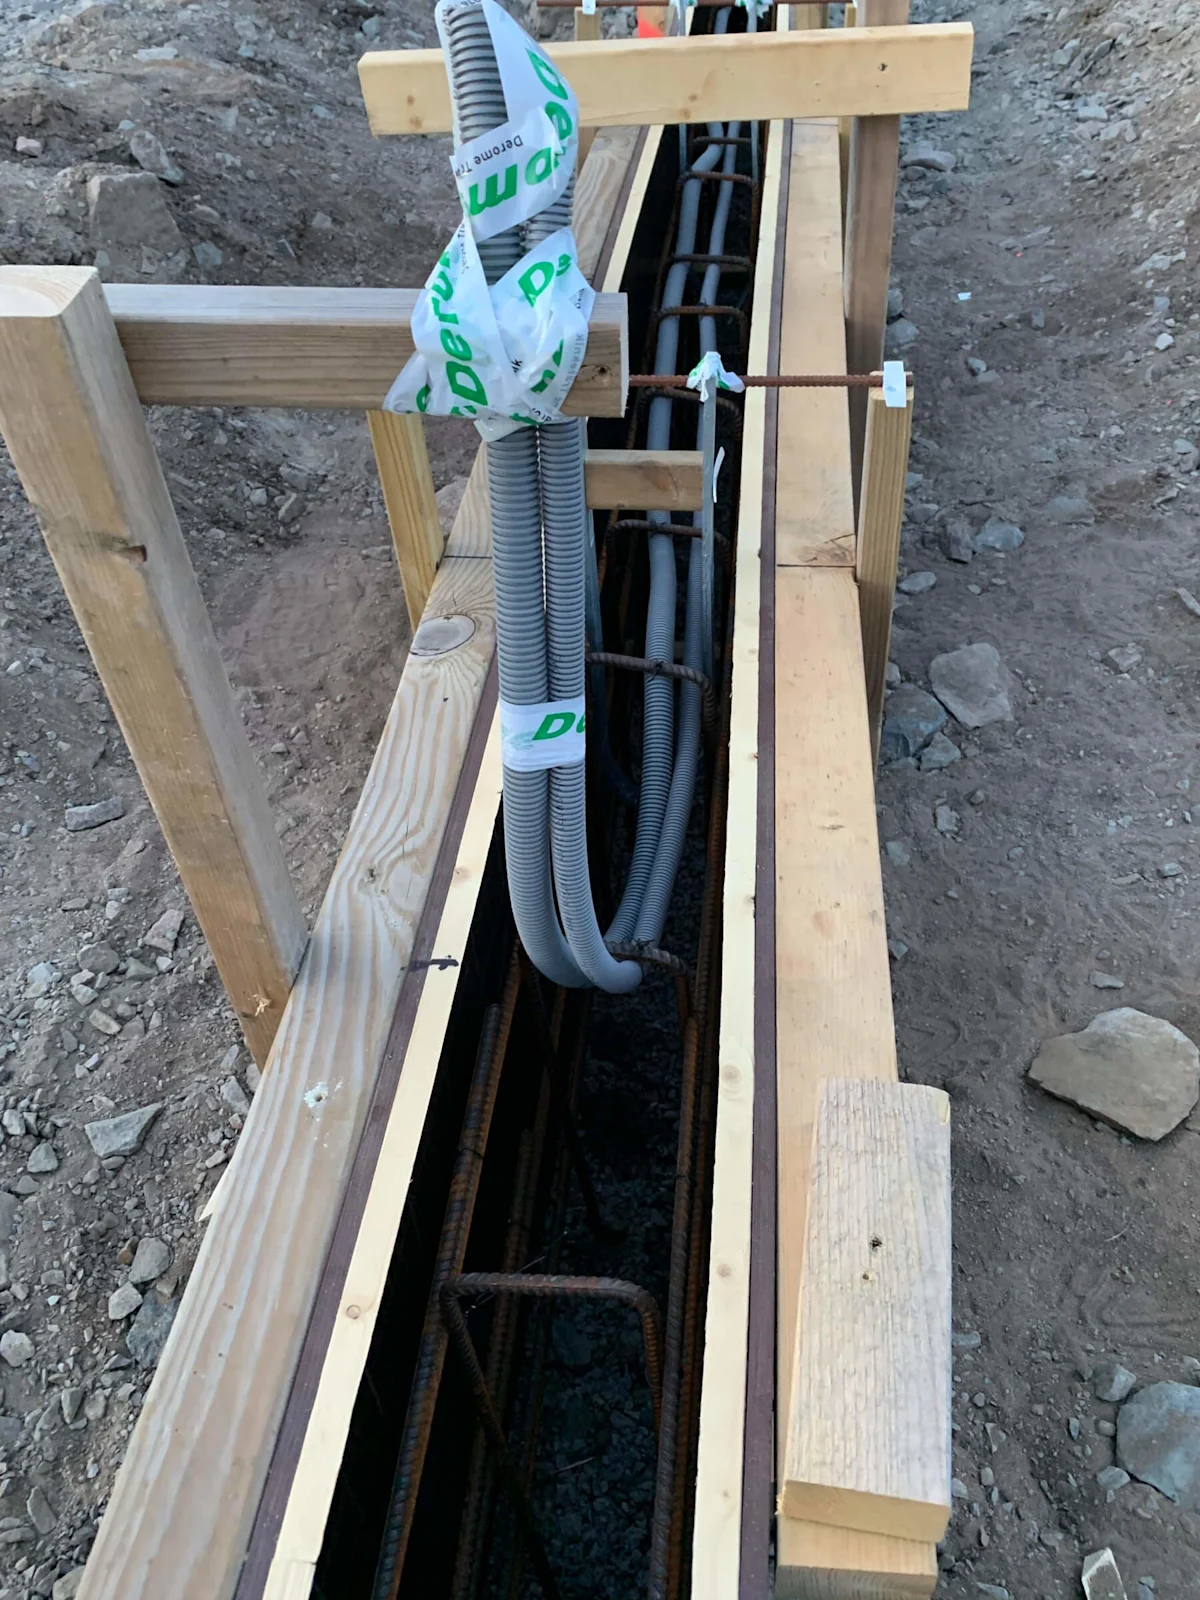
Triangle molding and tubing for lighting are ready.
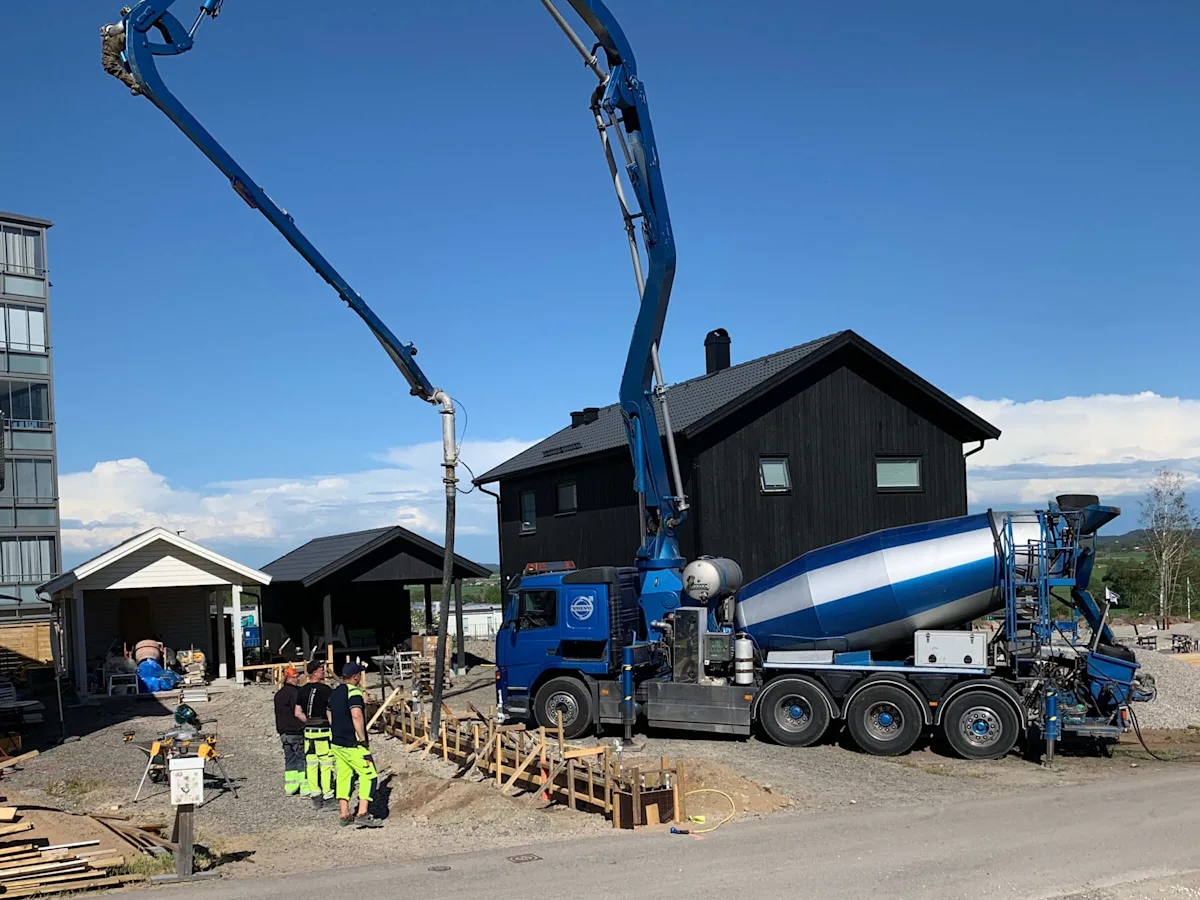
Time for concrete, it was nerve-wracking as usual. The mold gave way on 4 occasions, but the 4 of us who were working together managed to add some extra braces so that the mold came back together again. We used 5 cubic meters of concrete.
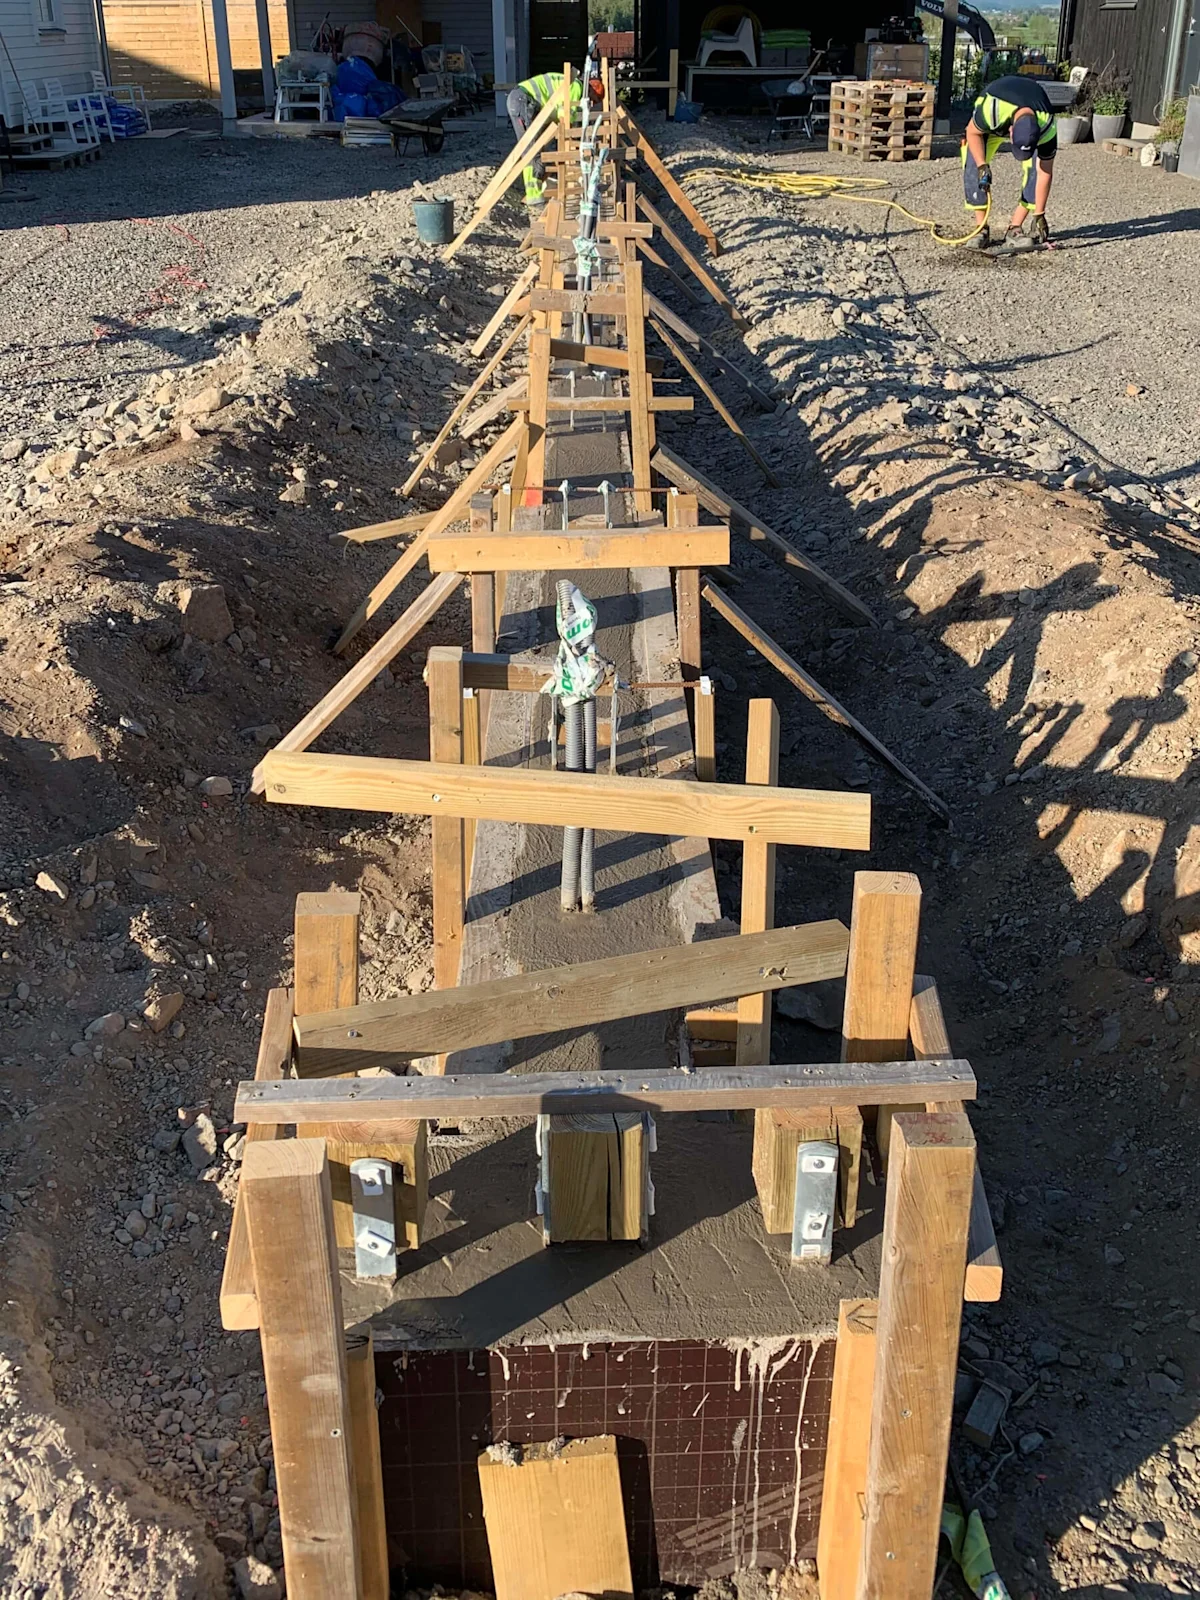
The casting is finished...
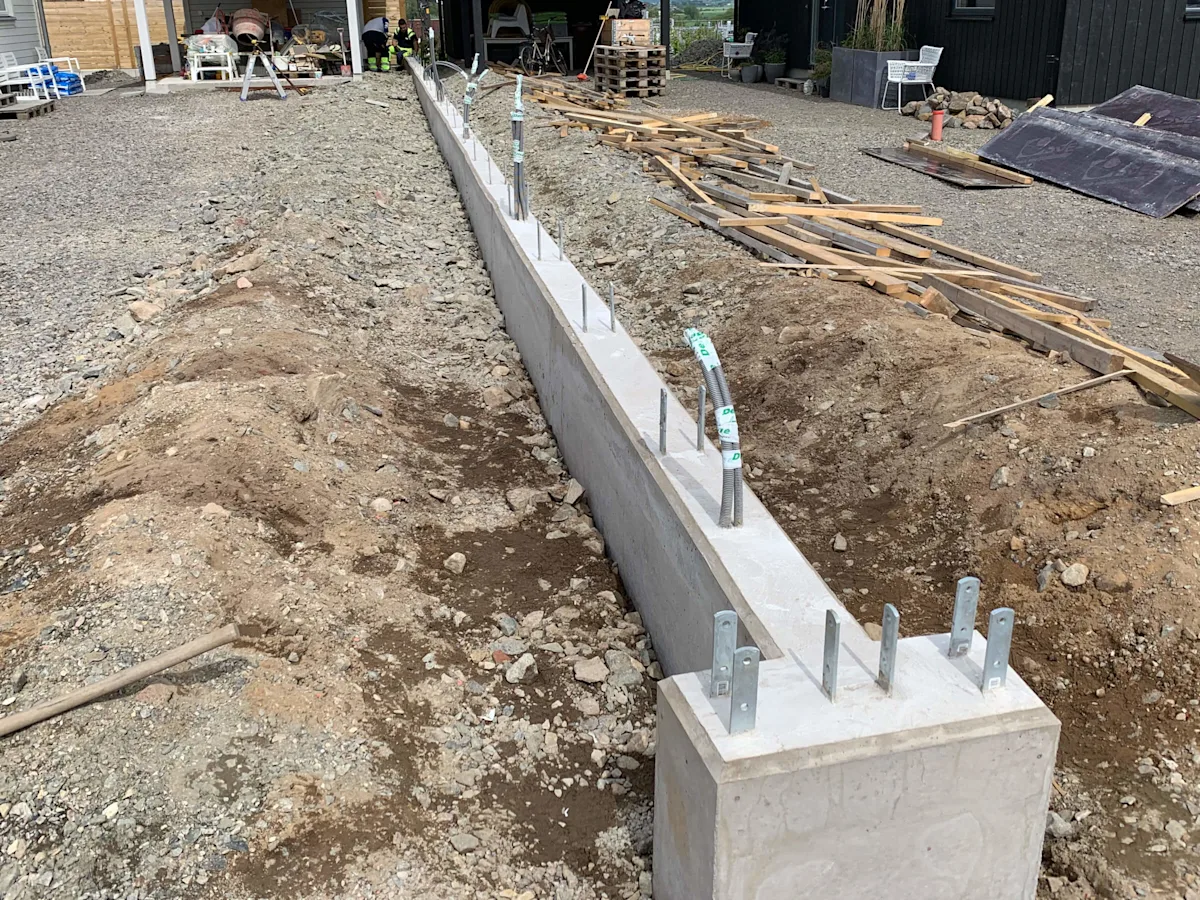
After about a week of watering, we removed the mold. Later on, I cleaned all the formwork so that I can reuse it for future projects.
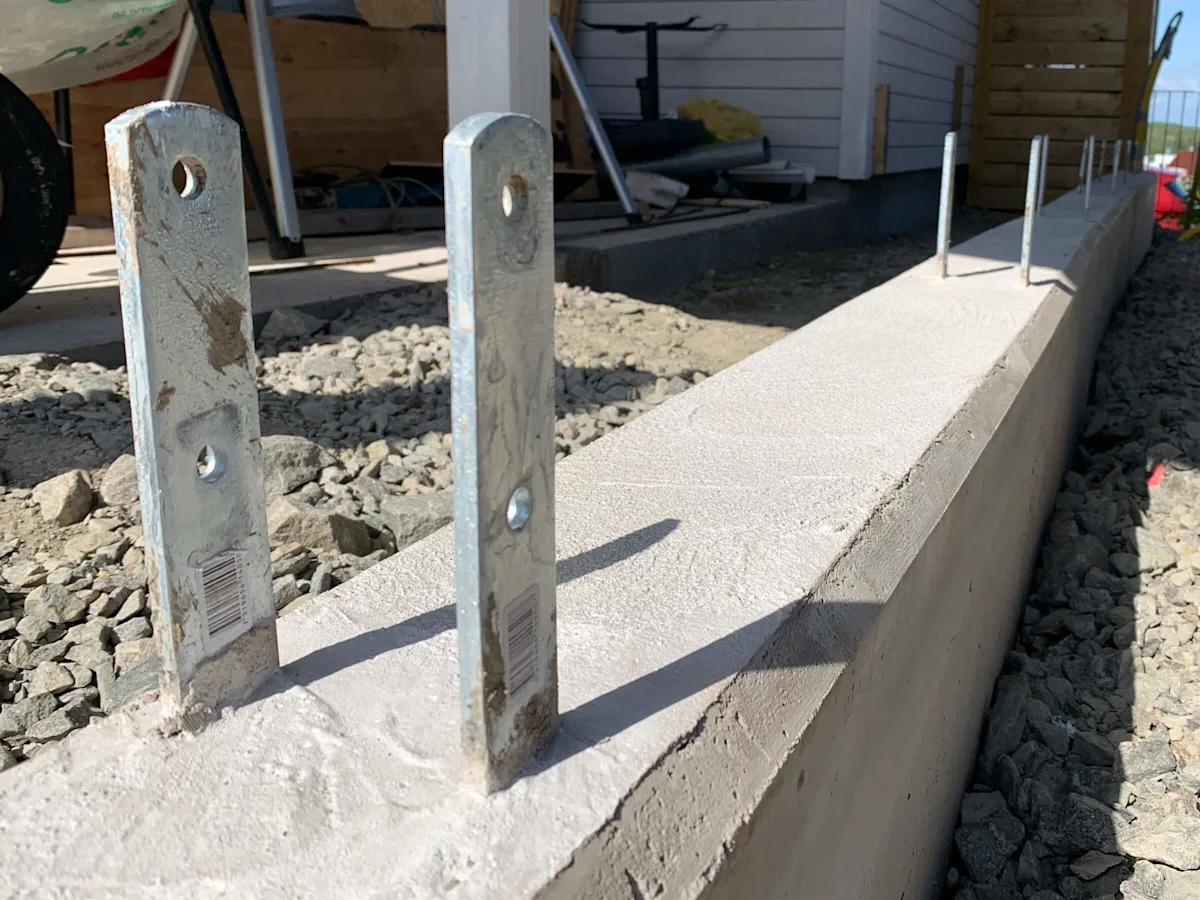
Concrete is beautiful! However, the result is a bit uneven in some places. But for the first time building a casting mold, which was also 28 meters long, we are very satisfied with the result.
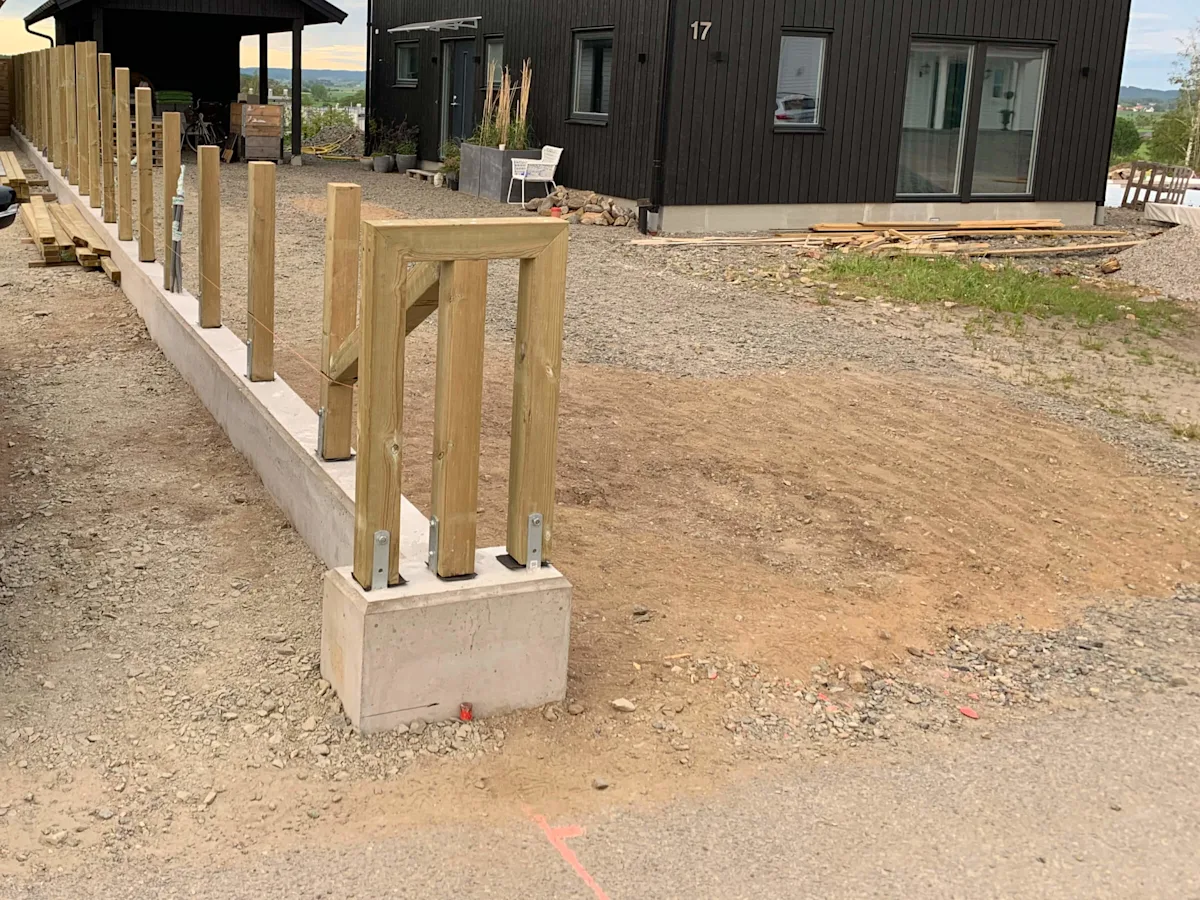
We are building the frame with 95x95 pressure-treated posts. It turned out to be VERY sturdy.
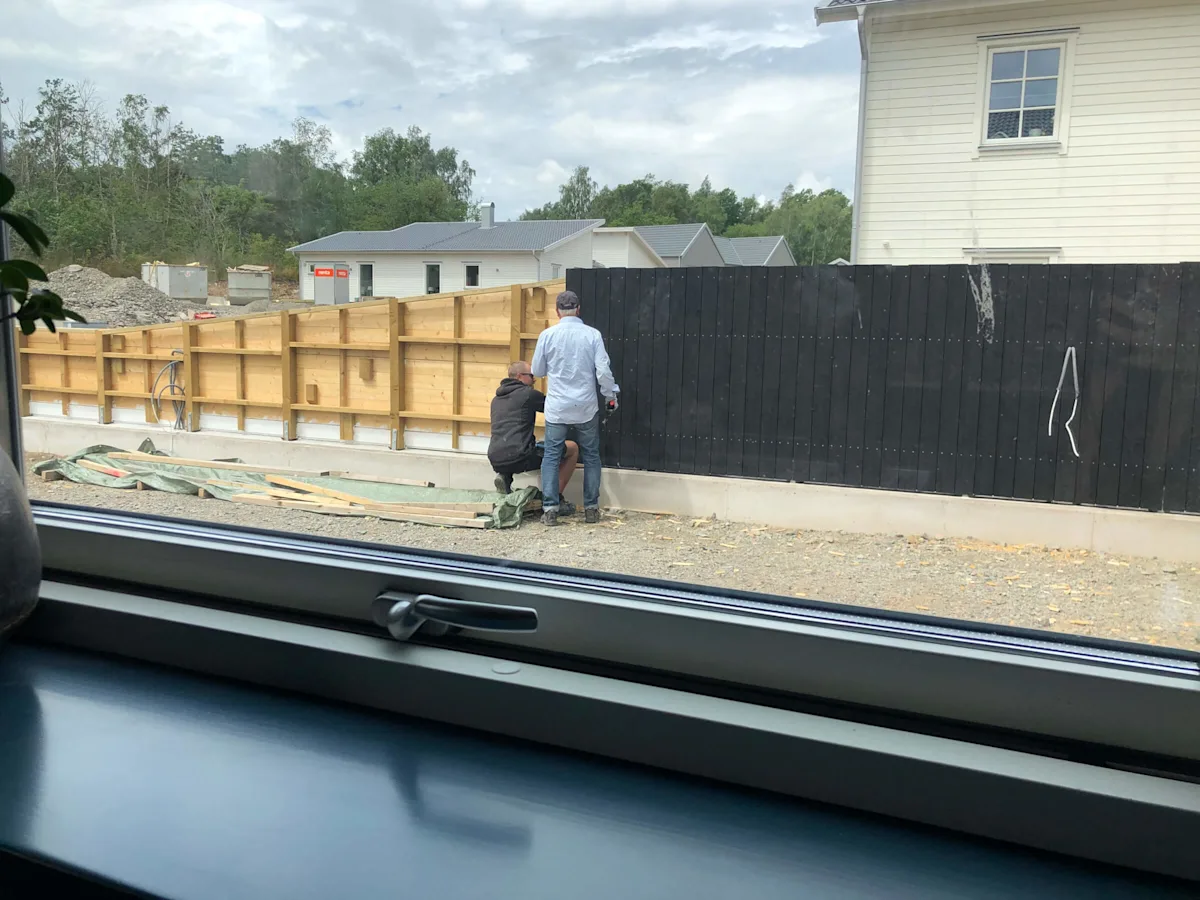
Dad and I are almost finished with setting up the finishing wooden planks of the fence. We have painted it once with black "Falu Red" (iron oxide paint paint) before putting it up.
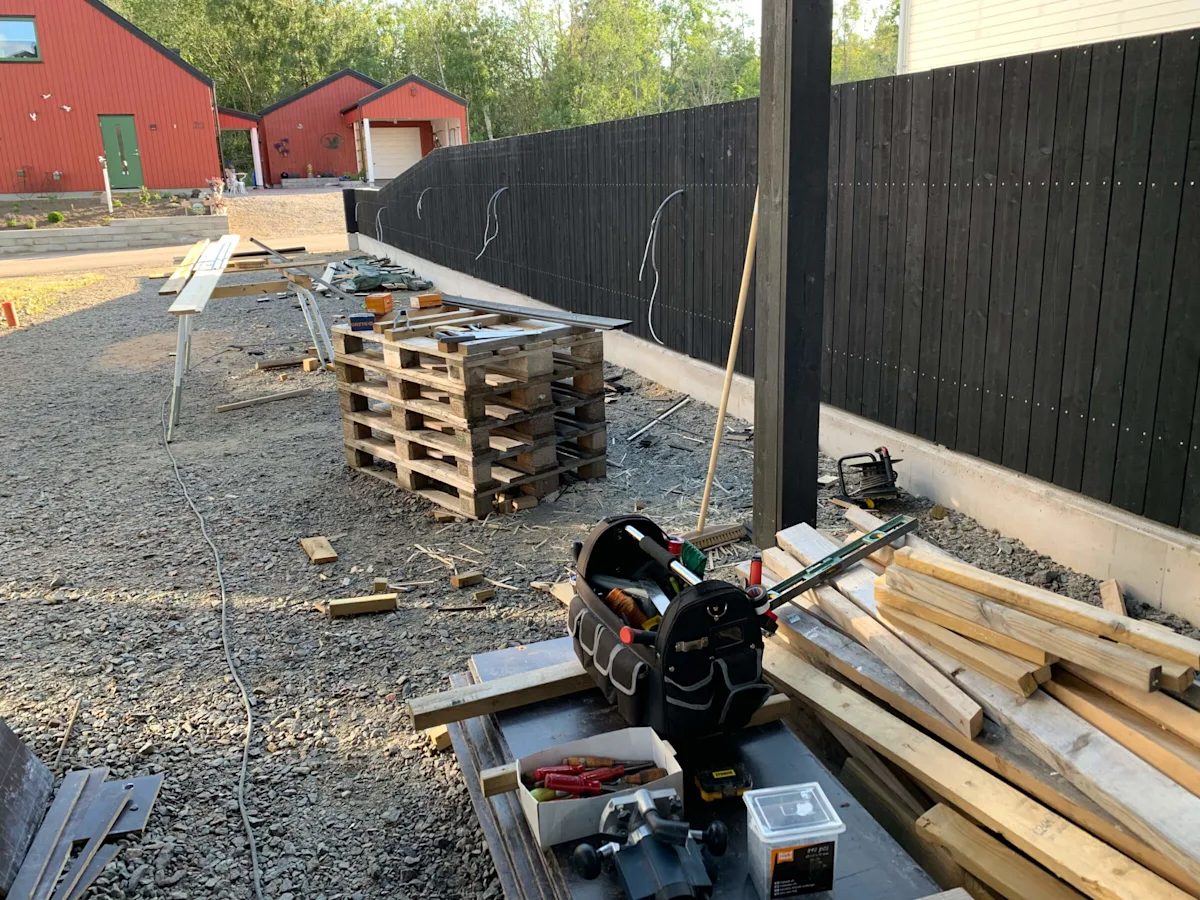
All the fencing is finished. The final coat of the paint is left. Then, we will install the lights and the metal cap.
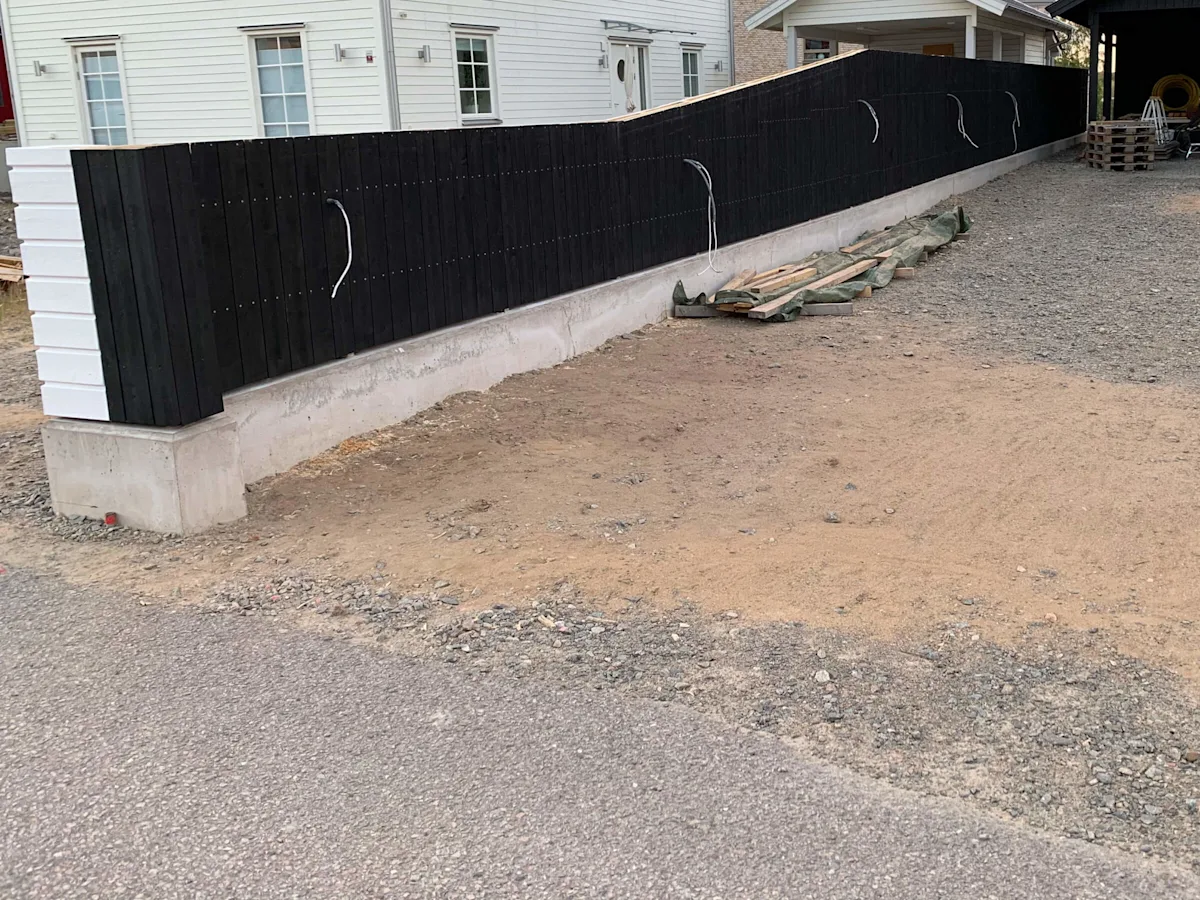
From a different angle. When we lay paving stones or similar in the future, we will probably raise the ground level by a around 10 centimeters. The plan is also to put some trellises with climbing plants on the fence to make it feel more vibrant and lively...
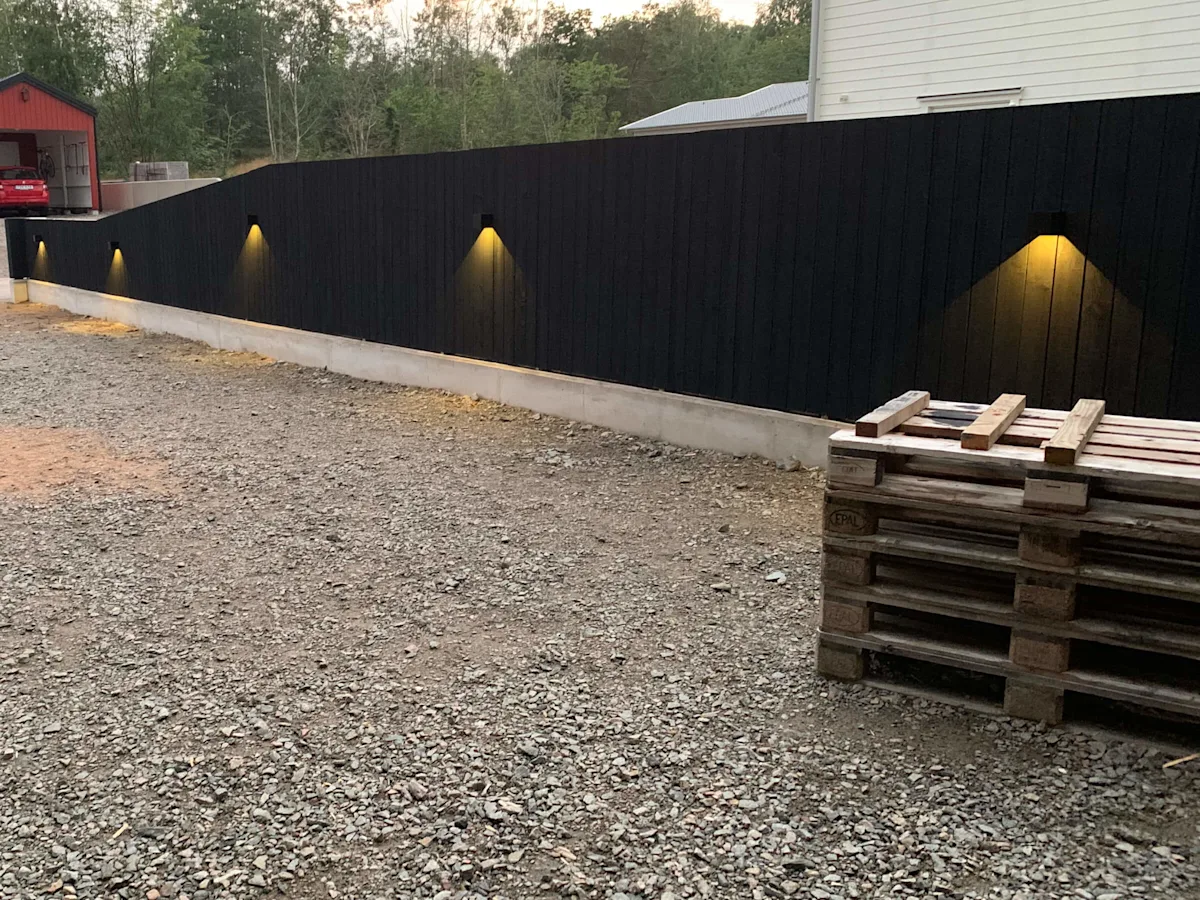
The fence has been painted and the lights are in place!
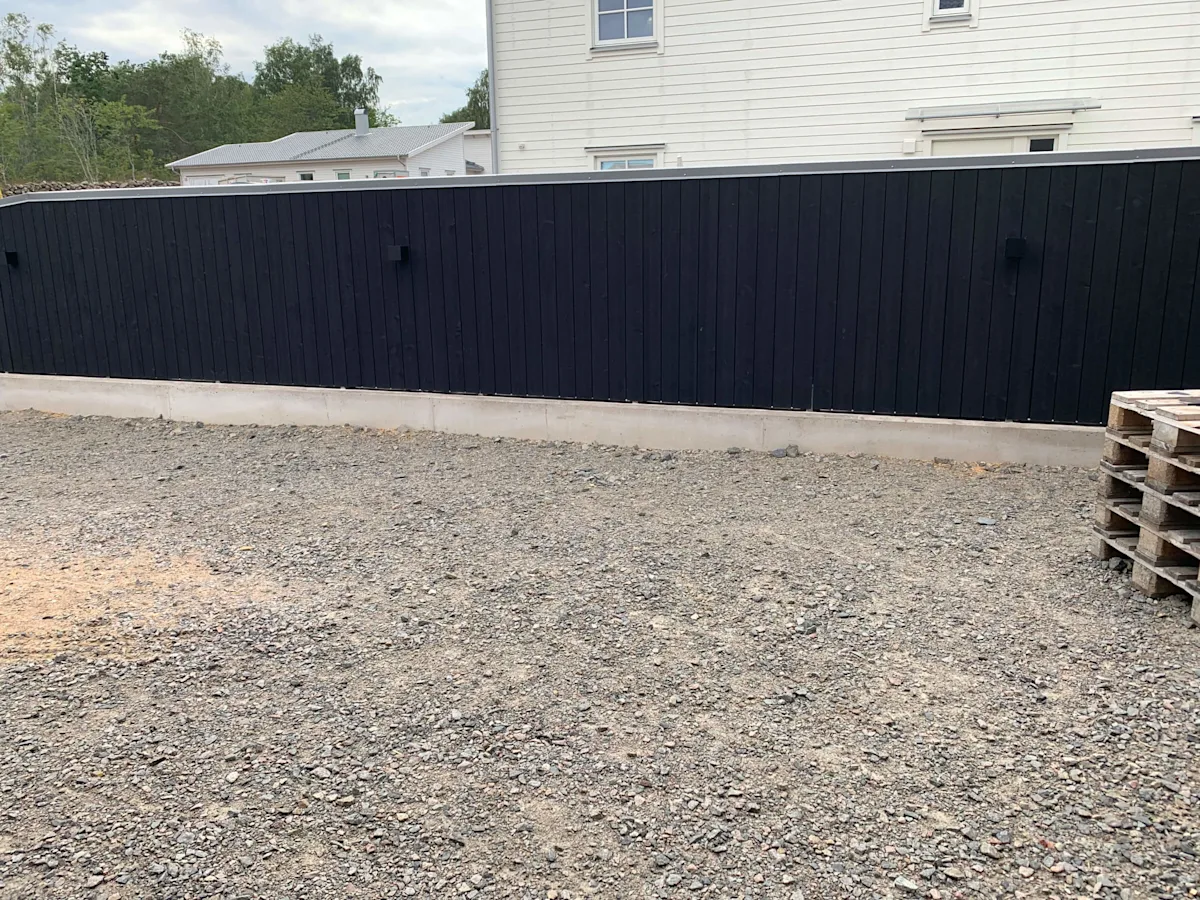
The metal cap is also in place. I might have preferred a slightly darker color for the metal cap, but since the neighbor has white paint on their side and we have black paint on our side, we settled for "dark silver" as a compromise. A sheet metal worker made the plates for us, and we installed them in place.
What do we have left now? Quite a lot! 😂 We want to convert the carport into a garage, build a courtyard, plant along the fence, lay paving stones or something similar, but at least the fence is in place and we are quite satisfied with it. 🙂