
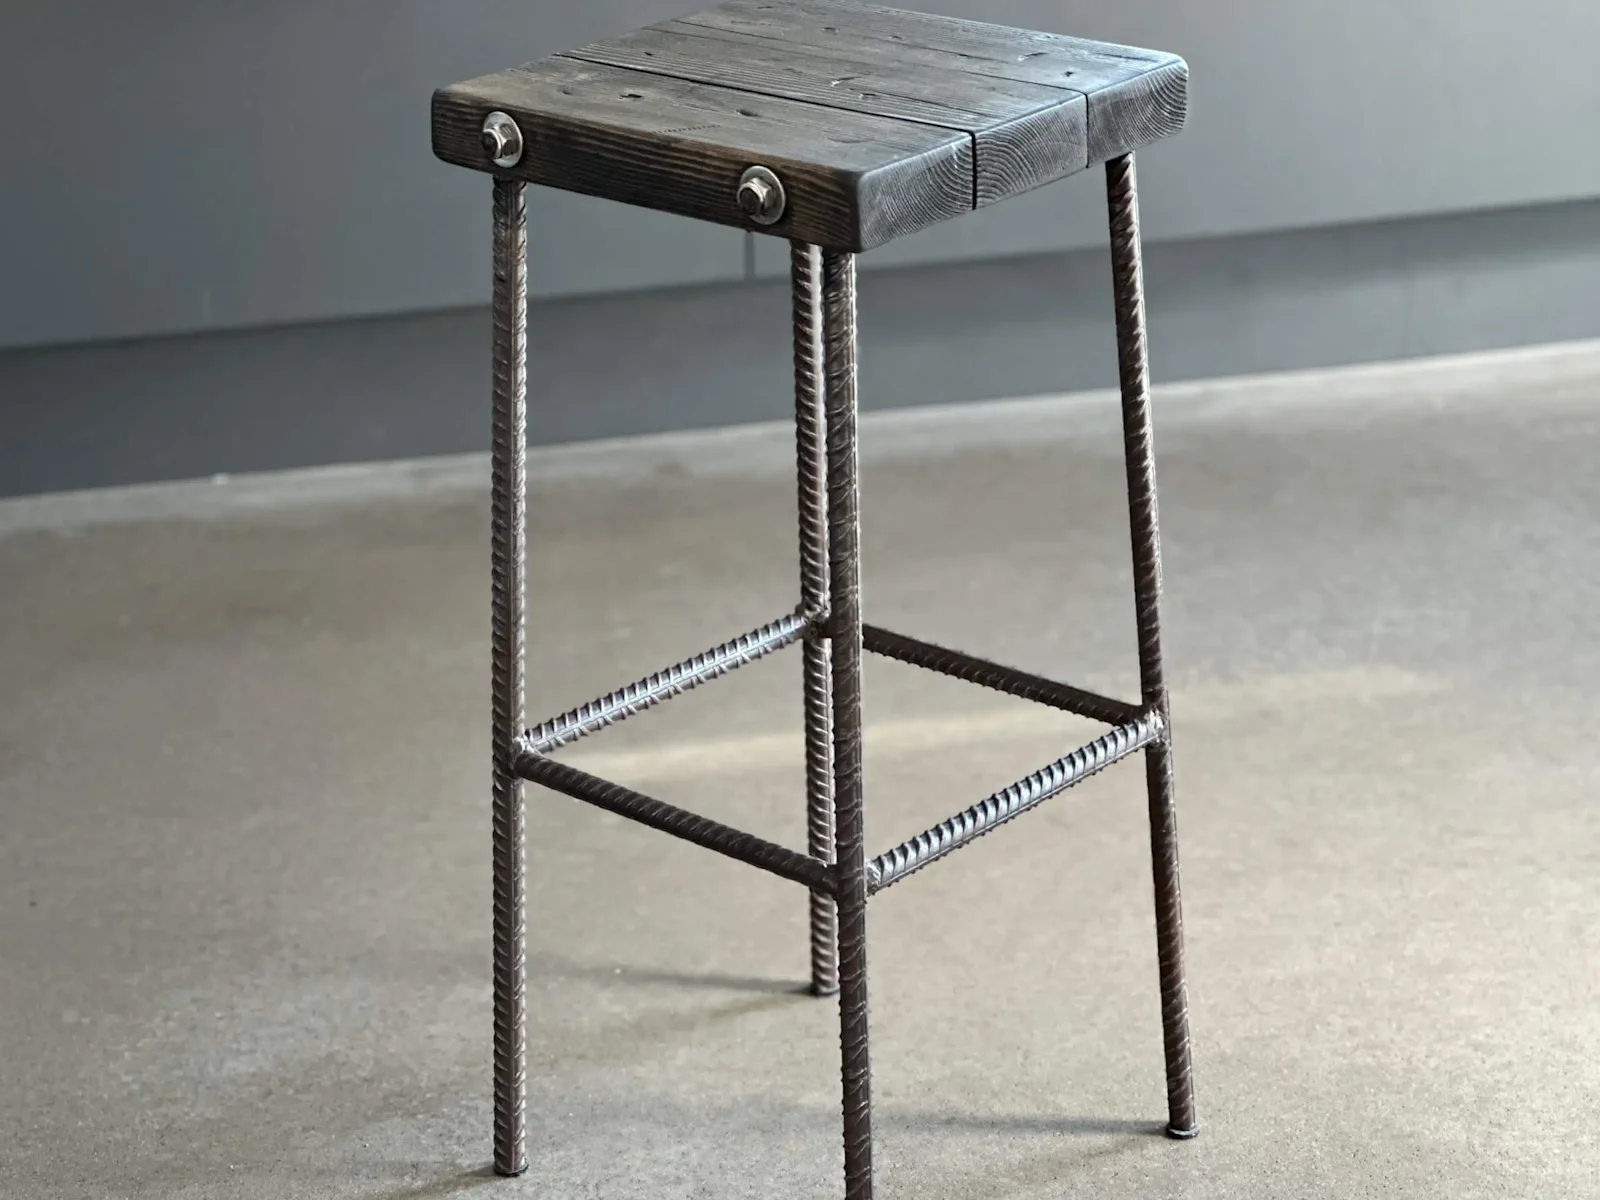
DIY welded bar stool
Since we moved into the house, there has been a lot of work with wood and concrete, but quite early on, my interest in learning to weld grew. One year, I wished for a welder as a birthday present from my dear partner, and I got an Awelco Mig 130 😍.
We had a lot of leftover materials at home, such as rebar, threaded rods, and lumber. It was perfect for building something while practicing my welding skills. I decided to make a bar stool; it felt like a fun project.
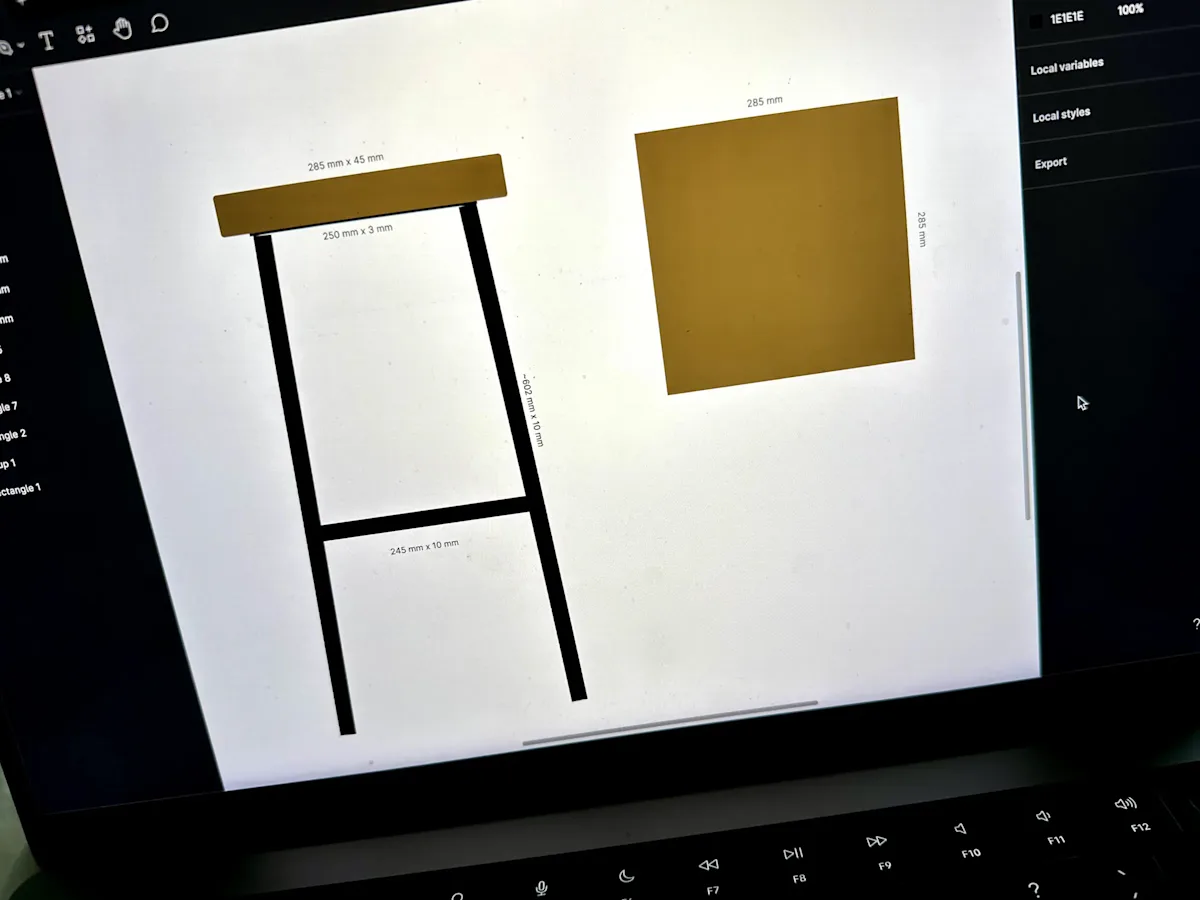
First, I created a sketch, using some inspiration from Pinterest. We had some 10mm rebar left over from the pool construction, which became the legs, along with some purchased flat iron and scrap wood for the seat.
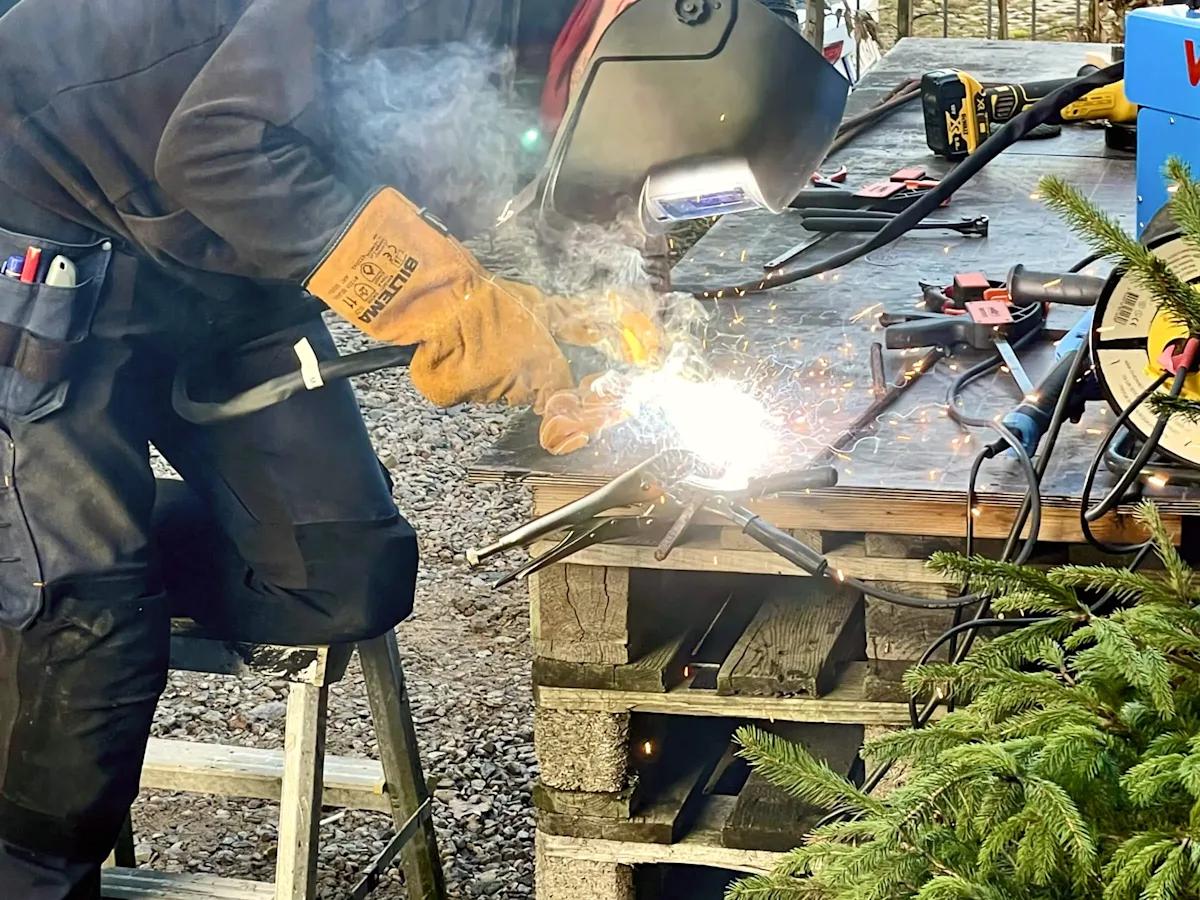
As I had never welded before, I practiced on small rebar scraps before welding the legs together for the bar stool. Unfortunately, this post doesn't include a close-up of the welds 😂
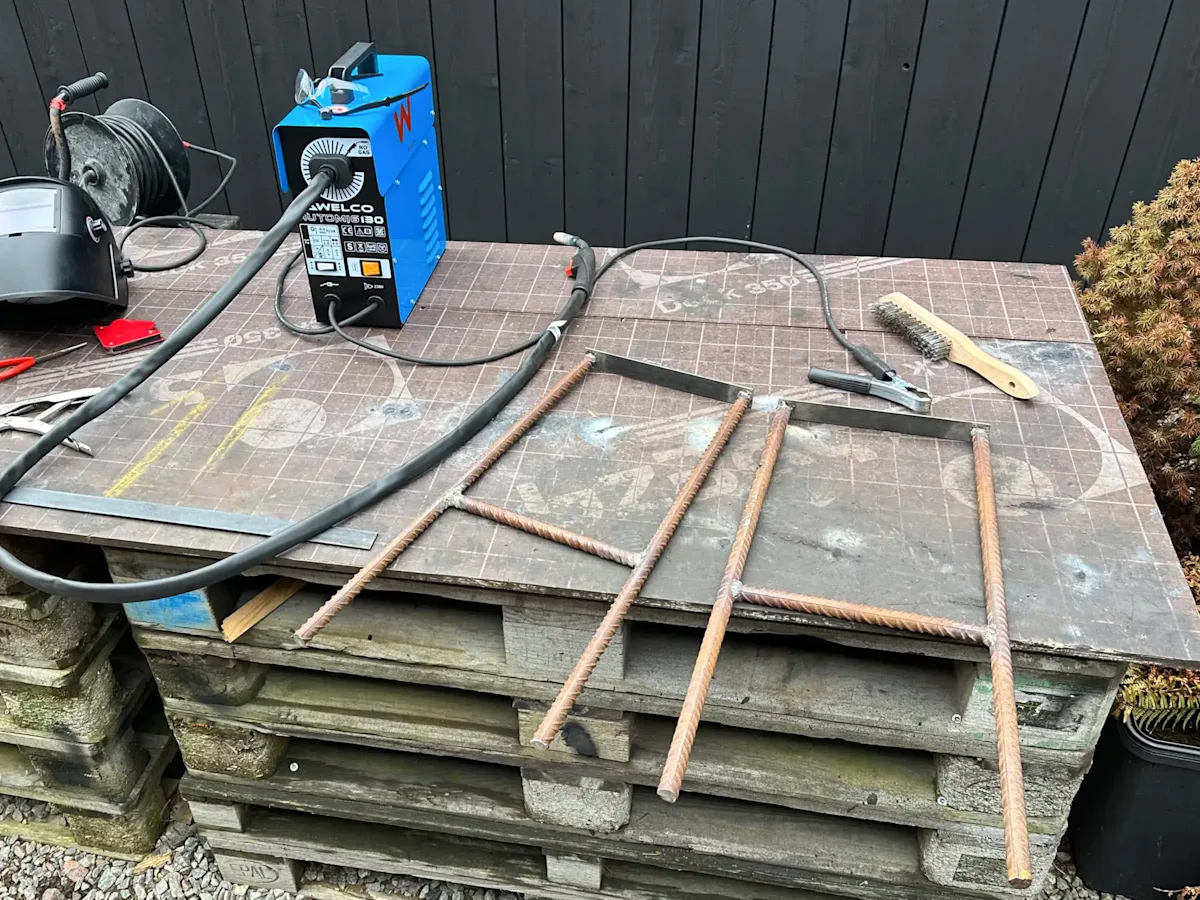
Next, I had two pairs of legs ready for the seat! Each pair of legs consisted of two "H"-shaped forms with a flat iron on top.
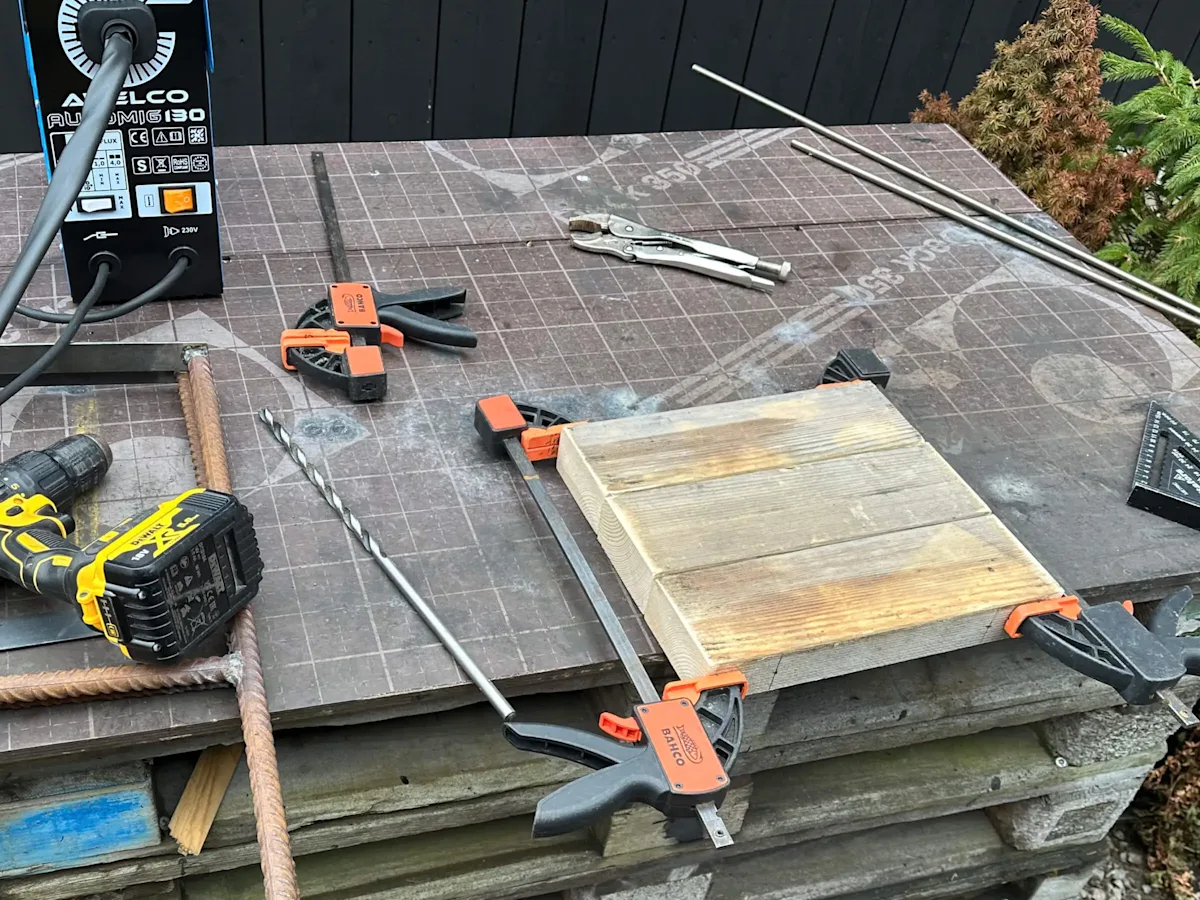
For the seat, we used scraps of untreated lumber (45x95 mm). To join them together, we drilled holes along the length with a long 10mm drill and inserted threaded rods. We added washers and nuts on each side to secure them.
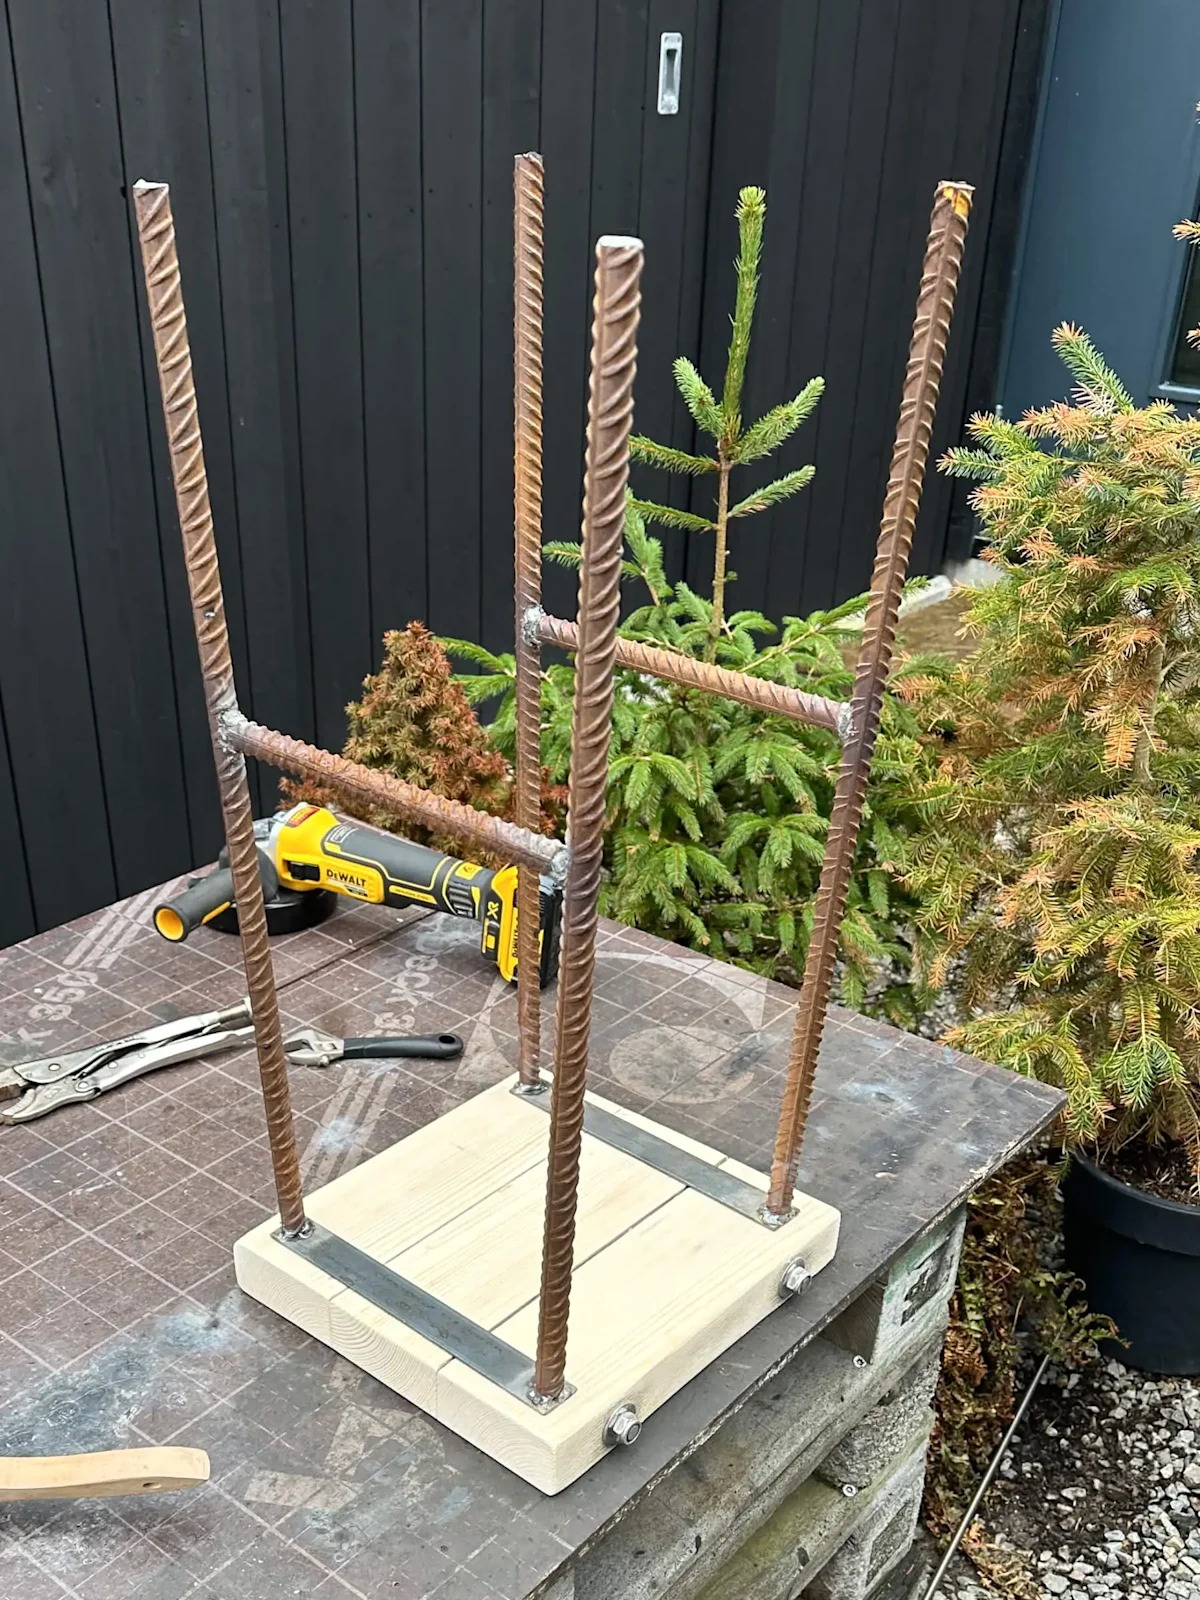
The legs were then attached to the seat by drilling holes in the flat iron, and the legs were fastened to the underside of the seat using screws.
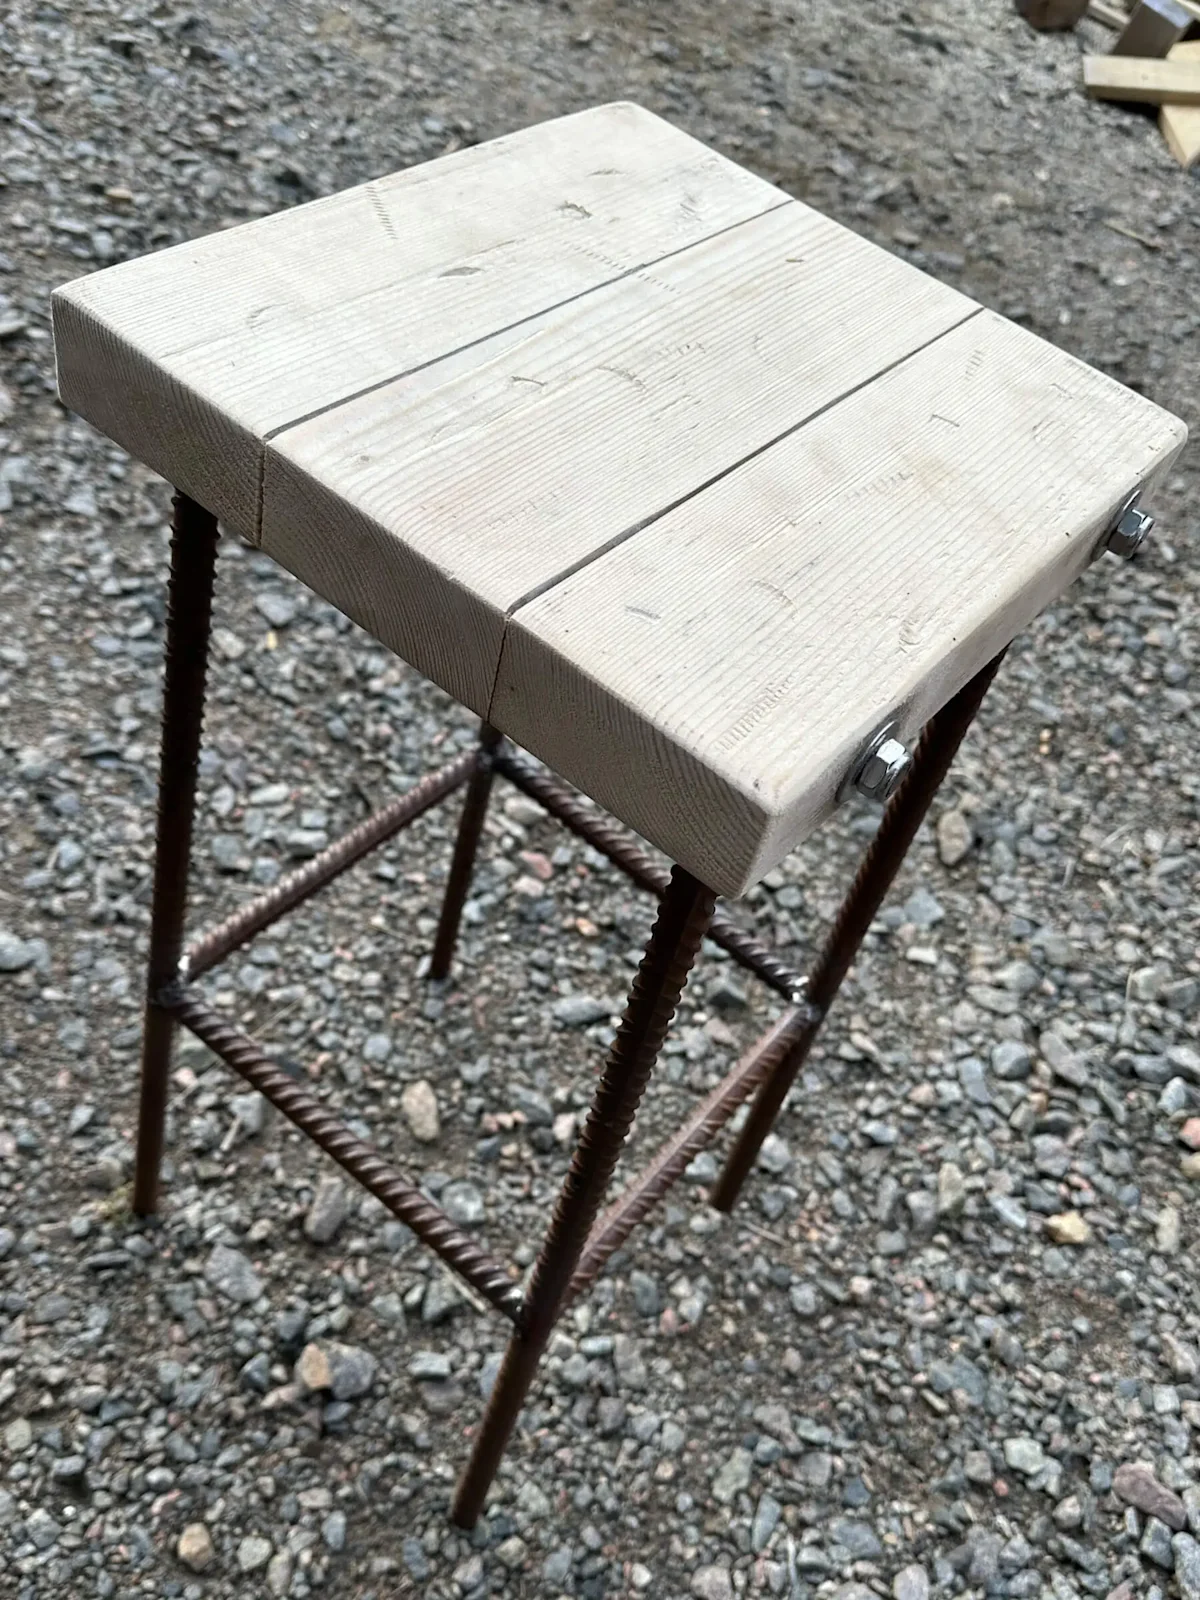
We also welded transverse rebar, connecting the two pairs of legs, which also served as a footrest no matter which way the bar stool was placed. The seat was sanded thoroughly with sandpaper. Next up, staining!

We chose "Black Onyx" stain for the seat. It had worked well on the countertop in our home office, and we took a chance that it would look just as good on the scrap lumber 🤓.
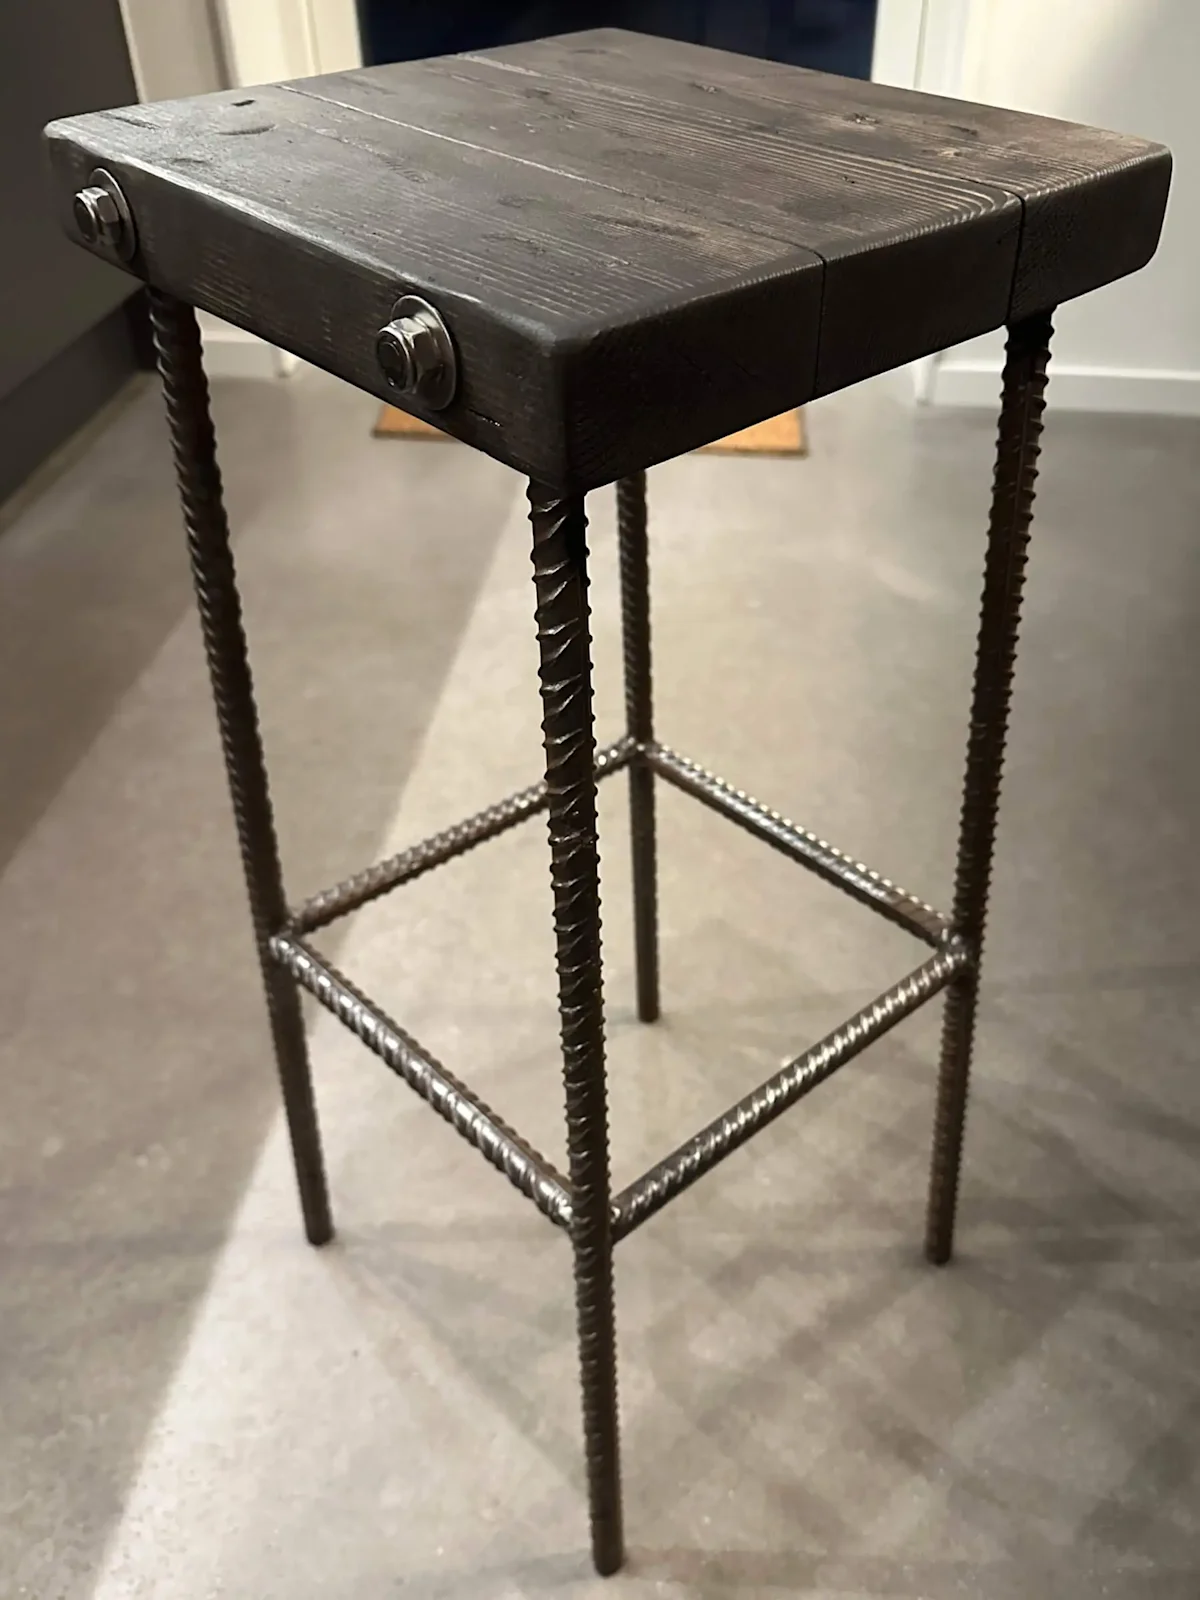
The bar stool turned out great after staining. The rebar had been outdoors for a few years and had rusted, so we brushed them thoroughly with a steel brush before starting the build.
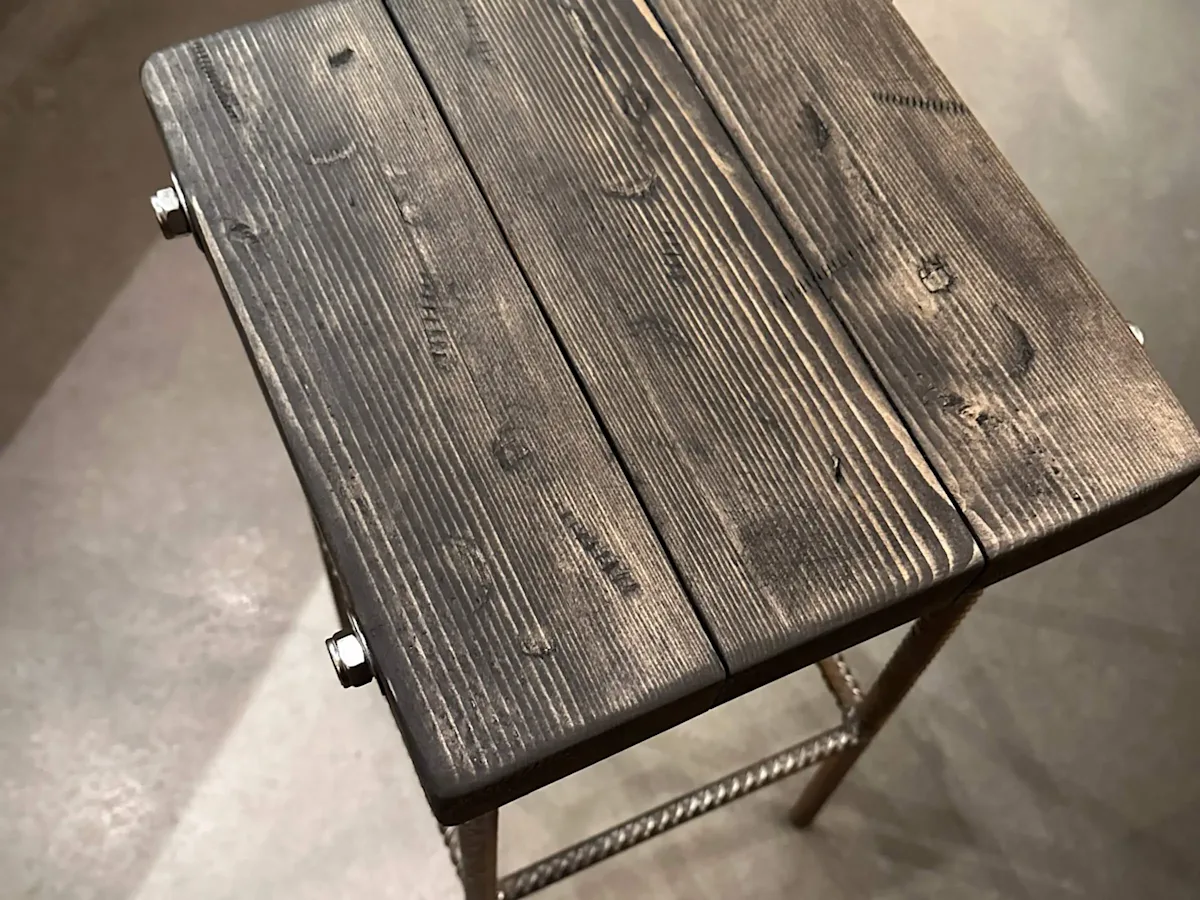
A detail not mentioned earlier is that after finishing the seat, I used various items I found in the storage room to distress the seat. I found nuts, screws and a hammer that I used to create some damage. These marks became more apparent after staining. In the storage, we also had black furniture glides that were applied to protect the floor.
What have we learned from this project?
In addition to getting a few extra hours of practice welding and using angle grinders, we learned the following:
It's best to have a flat surface to build the stool on. Unfortunately, we didn't have one, so we had to "test" the stool on the concrete floor inside the storage room from time to time. Eventually, we had to flip the stool upside down and grind down the rebar legs a millimeter to prevent it from wobbling when someone sits on it.
Use dry lumber! The lumber we used for the seat had been left outdoors without a roof during the winter and was wet. When it dried indoors, it started to shrink, creating gaps between the boards. However, the positive side was that we took advantage of the threaded rod going through all the boards, and we could tighten it further each time the boards had shrunk.
In conclusion, it was an exciting project. We got to try welding a bit, and it was fun to use the old rebar scraps we had behind the storage room.